Turnbuckle Construction
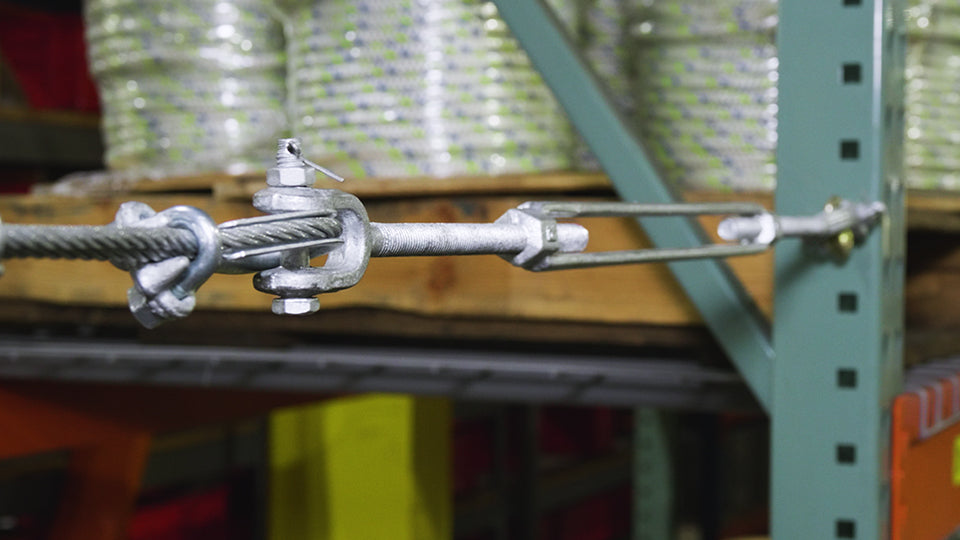 A turnbuckle consists of three different parts, the first part being the turnbuckle body. A turnbuckle body is right hand-threaded on one side and then left hand-threaded on the other. Apart from the turnbuckle body, you have two turnbuckle end fittings. And just like the turnbuckle body, one in fitting is right hand-threaded and the other is left hand-threaded.
Turnbuckle Measurements
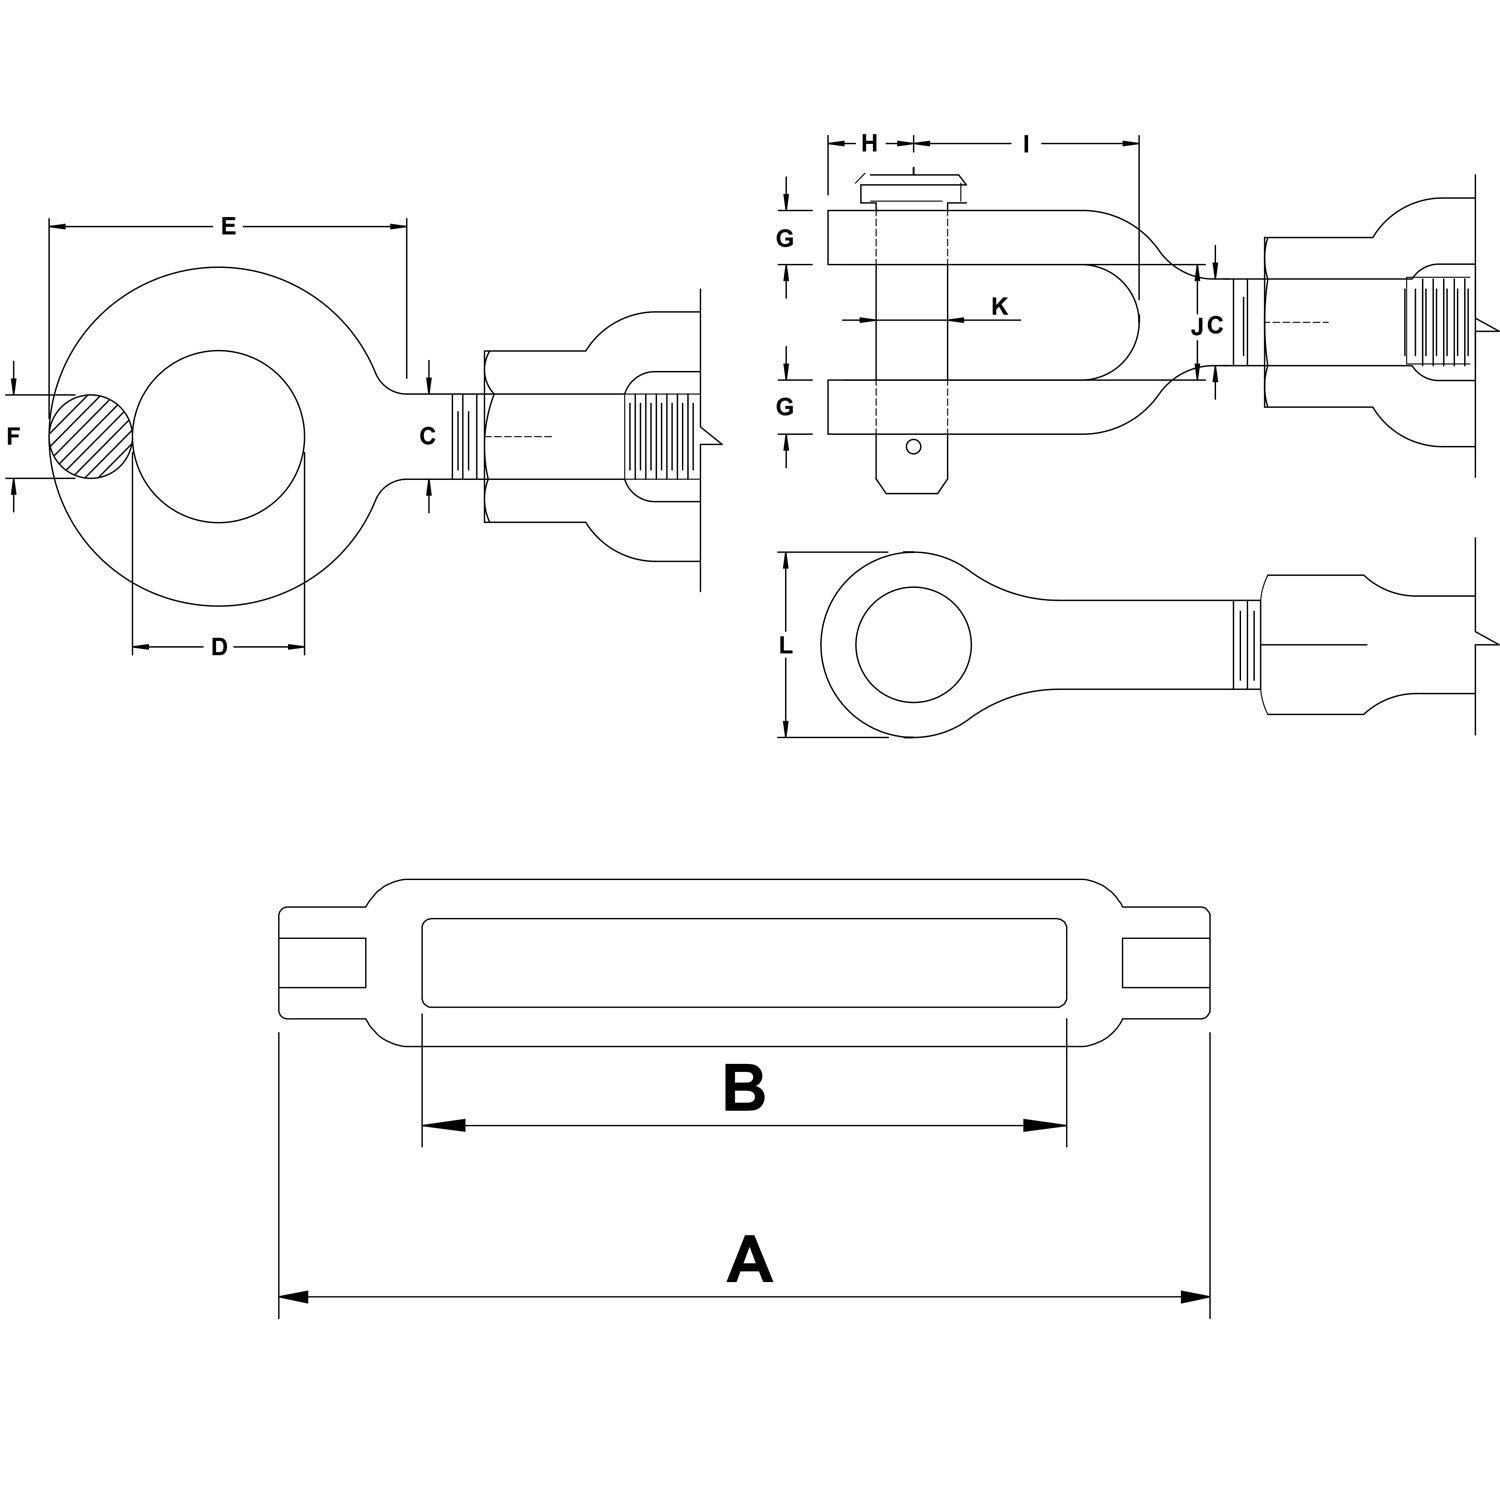 When selecting a turnbuckle, it's important to understand how turnbuckles are measured. The first measurement is referring to the turnbuckle’s thread diameter, and the second measurement is referring to the inside length of the turnbuckle body or the maximum amount of take up or slack that each end of the turnbuckle can adjust when fully extended.
Open- and Closed-Body Styles
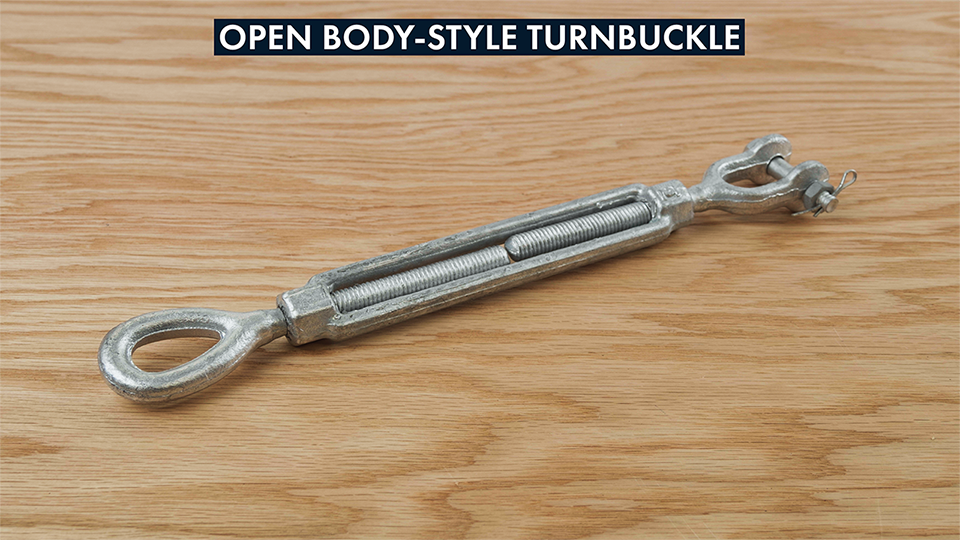
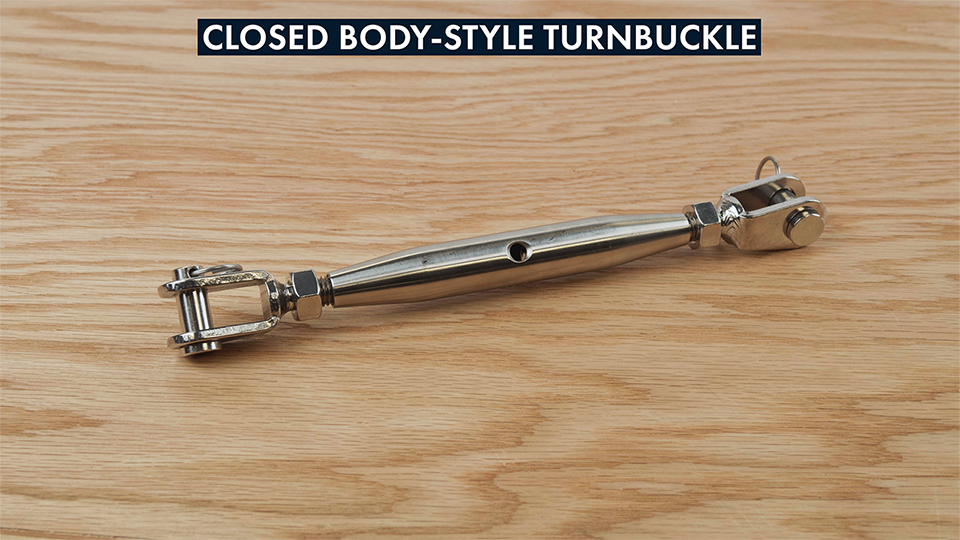 There are two different classifications of turnbuckles to choose from. Open body style and closed body style. Open body style turnbuckles are the most common turnbuckles in rigging. They're commonly used for everything from construction projects, overhead rigging, and sometimes even load securement. Closed body style turnbuckles are less common than open body styles and are often used for marine rigging on sailboats, cable railing systems or in higher end applications where looks and aesthetics are important.
End Fittings
Turnbuckle end fittings come in several different styles to accommodate for different applications.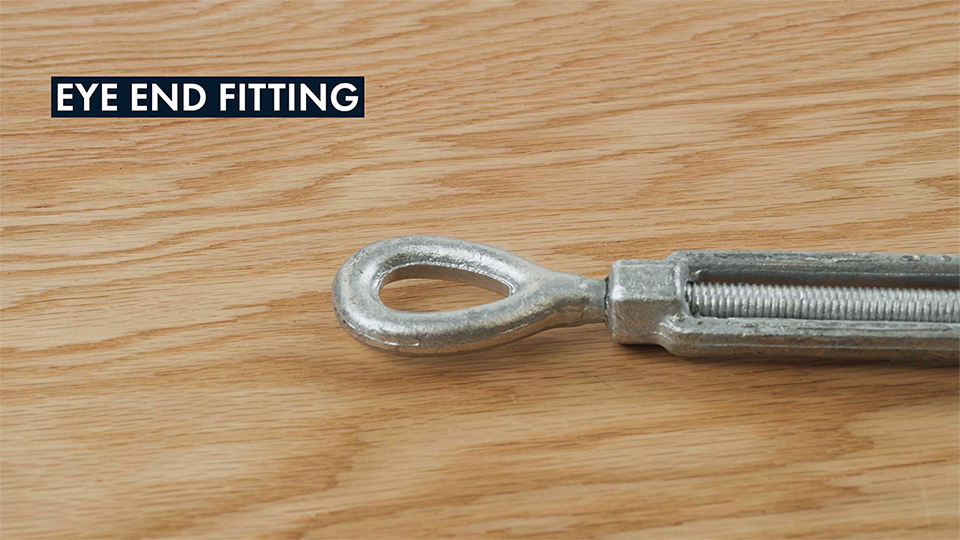 Eye end fittings are enclosed and are designed to attach to rigging fittings that can open and close, such as a shackle.
 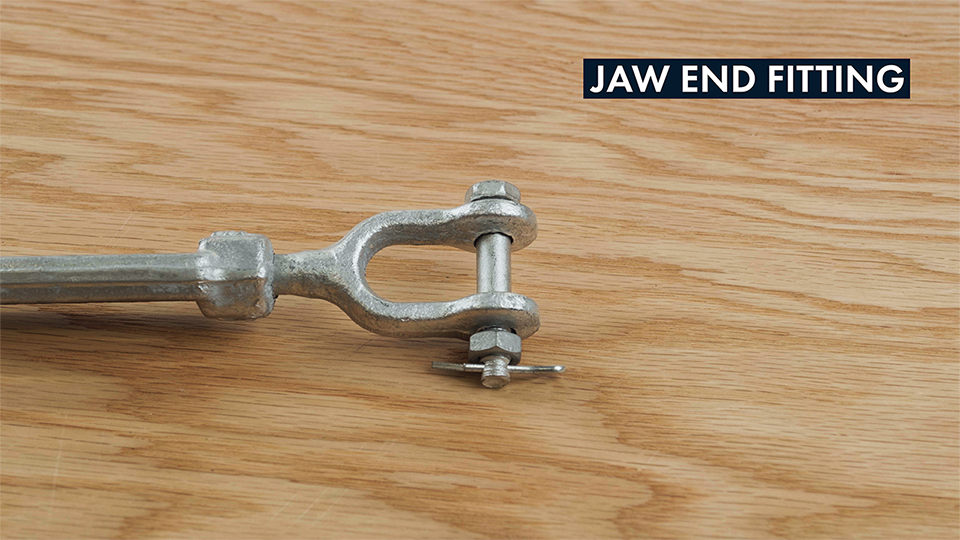 Jaw end fittings are designed to be easily opened and then attached in the other rigging fittings that are enclosed, such as an eye bolt.
 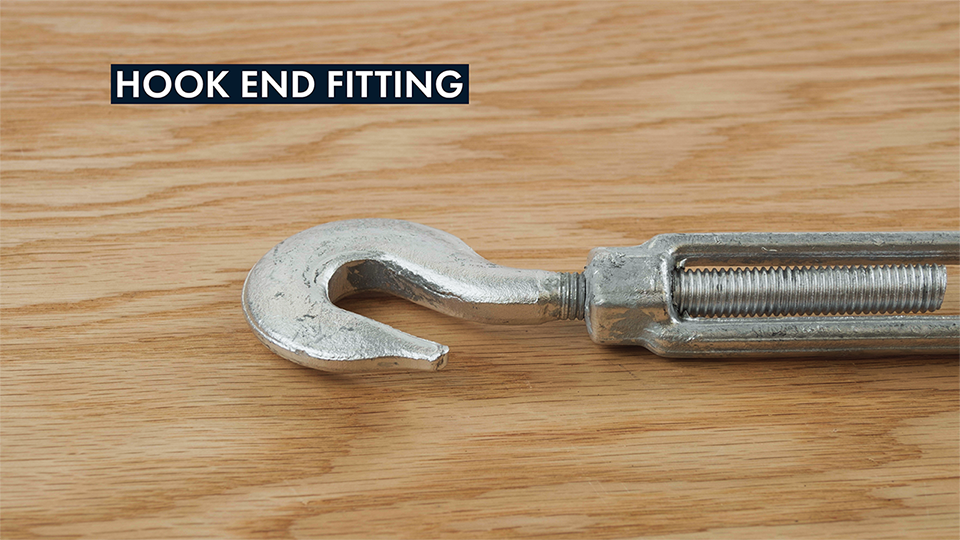 Hook end fittings are designed to be easily attached and detached to other rigging fittings for less permanent applications.
Coating and Materials
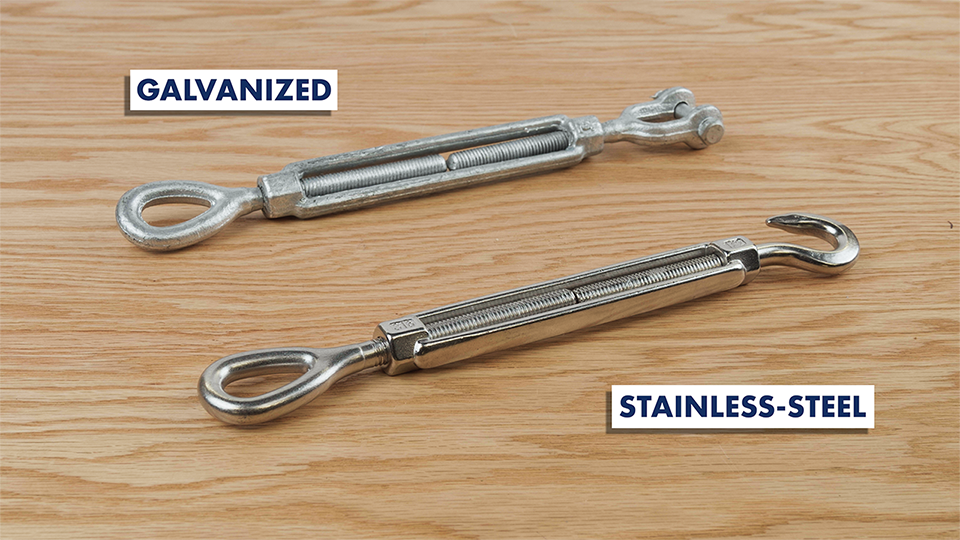 Coating and material type is something that you should take into consideration when selecting a turnbuckle for your application. The two most common material and coating types for turnbuckles are either going to be hot dip galvanized or stainless-steel. While both types can be used in saltwater environments, you'll want to rinse off each with fresh water as often as possible to prevent salt accumulation and accelerated rust.
Working Load Limit
As with every rigging component, fitting, and tool, working load limit (WLL) is the most important factor since it needs to either meet or exceed the loads that your turnbuckle will be experiencing in your application. Always know the load or tension of your project and the WLL for the turnbuckle before starting your project.Open-Length
The next thing you’ll want to consider is your turnbuckle’s length when open and how much take up that you need for your application. It's important to take a measurement between your two termination points and make sure that each end of your turnbuckle can easily attach into those points. A common use for turnbuckles is to tension a cable assembly between two points.Galling
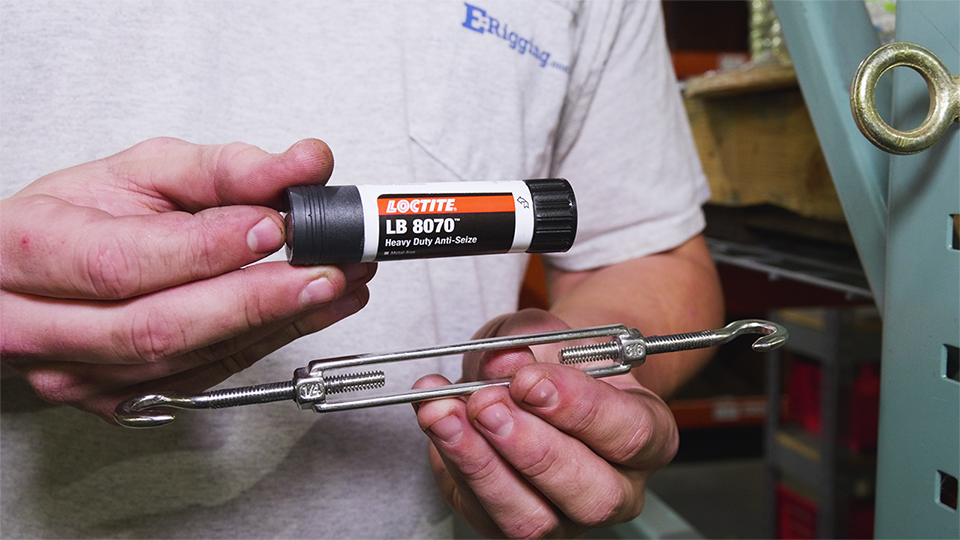 Stainless-steel turnbuckles are ideal for saltwater environments, however, due to stainless-steel being softer by nature, you do run the risk of your turnbuckles galling. Galling is a term used when the male and female threads of a metal fastener weld or seize up due to excessive friction and pressure. To combat galling, we recommend using an anti-galling thread compound and applying it to the threads of your stainless-steel turnbuckles before use. While the chance of galling is higher in stainless-steel threads, it can happen to galvanized turnbuckle threads as well.
Click Here to learn more about Galling and what you can do to prevent it with our handy guide.
How to Install a Turnbuckle
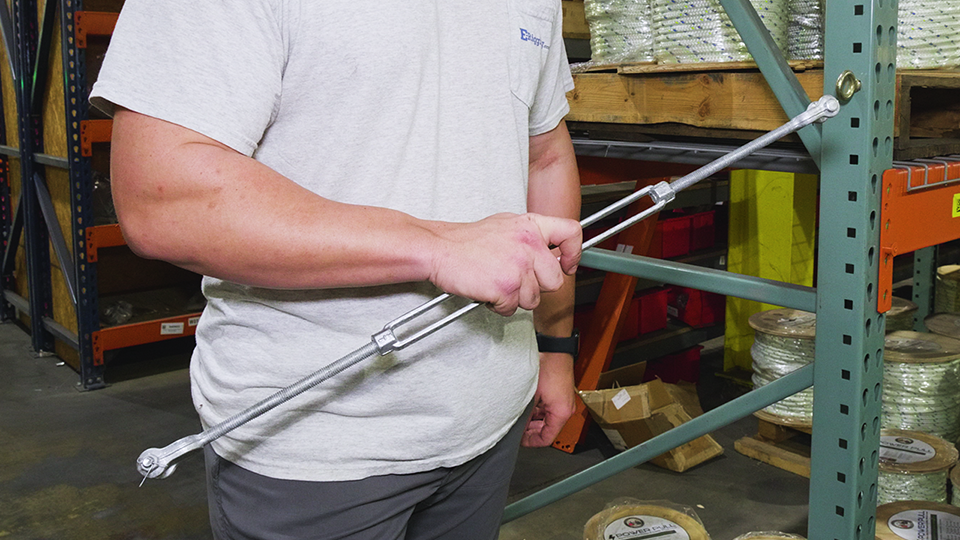 To properly use your turnbuckle, first extend each turnbuckle and out until the turnbuckle is completely open. Note that the threads on each end of the turnbuckle are just hidden inside of the ends of the turnbuckle body.
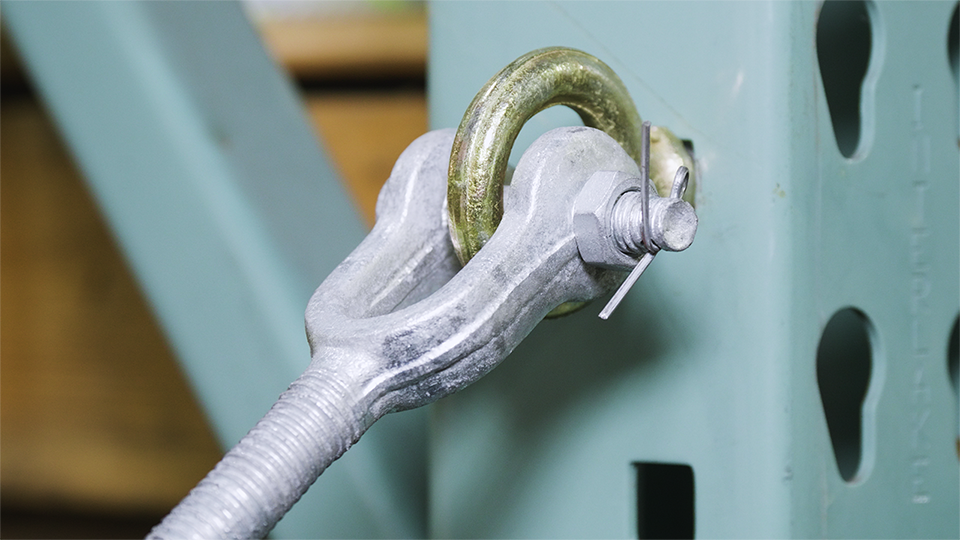
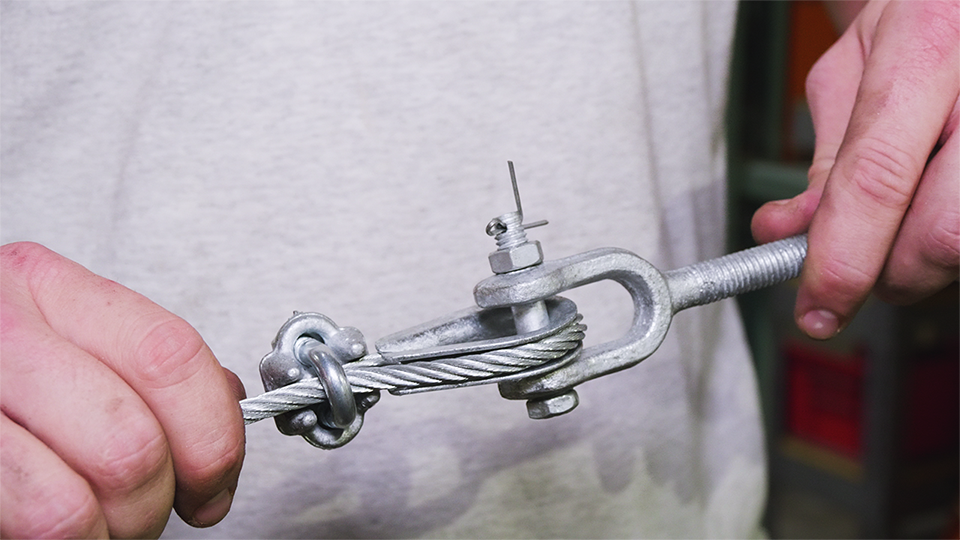 Connect each end of your turnbuckle to the two termination points in your application. In the example above, one end of the turnbuckle is connected to a shoulder eye bolt, and the other into a thimble eye at the end of a length of cable.
 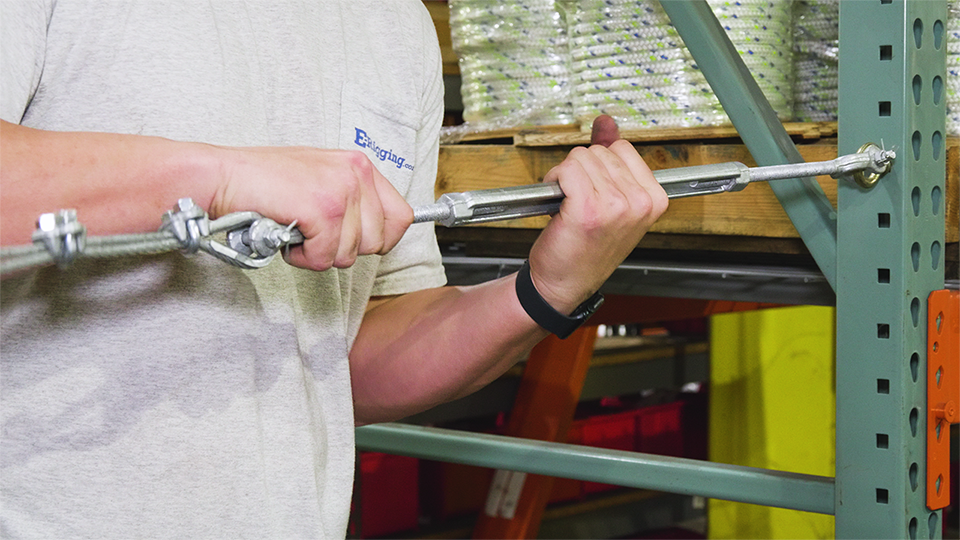 Once your turnbuckle ends have been connected. Start rotating your turnbuckle body to tighten it.
 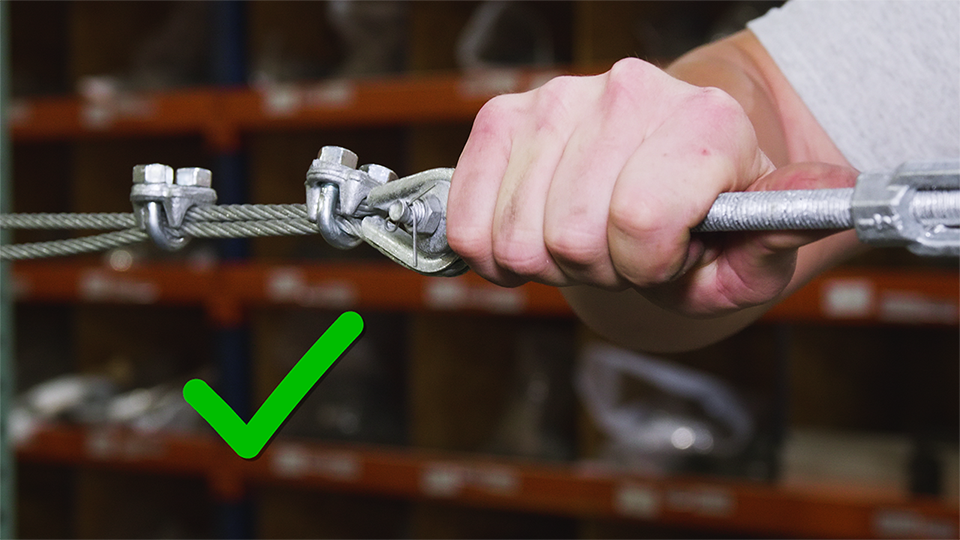 It's very important to note that while tightening your turnbuckle, your turnbuckle body should be the only part of the turnbuckle that's rotating.
 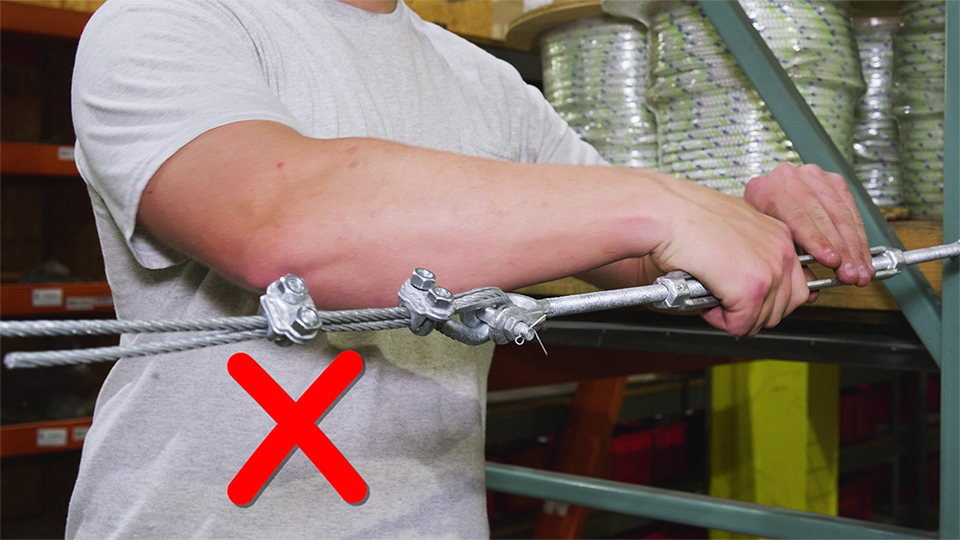 If your turnbuckle is connecting into cable, be sure to secure that end of the turnbuckle with your hand or tool, and make sure that it does not rotate. If your turnbuckle end rotates during tensioning, your cable will also rotate and twist, and over time the cable will gradually untwist, loosening your turnbuckle. Looking for more information on turnbuckles? Check out our turnbuckle informational resource here
