Swaging Instruction—Haas Legacy (conventional) Cable Rail Fittings
- CTA11846 - Crenshaw Tool Swager for 1/8" Stainless Conventional Cable Rail Fittings
- CTA11854 - Crenshaw Tool Swager for 3/16" Stainless Conventional Cable Rail Fittings


Insert the conventional swage fitting into the properly sized swage cavity on the swager. So that the swager is positioned in the 1st swage area of the fitting.
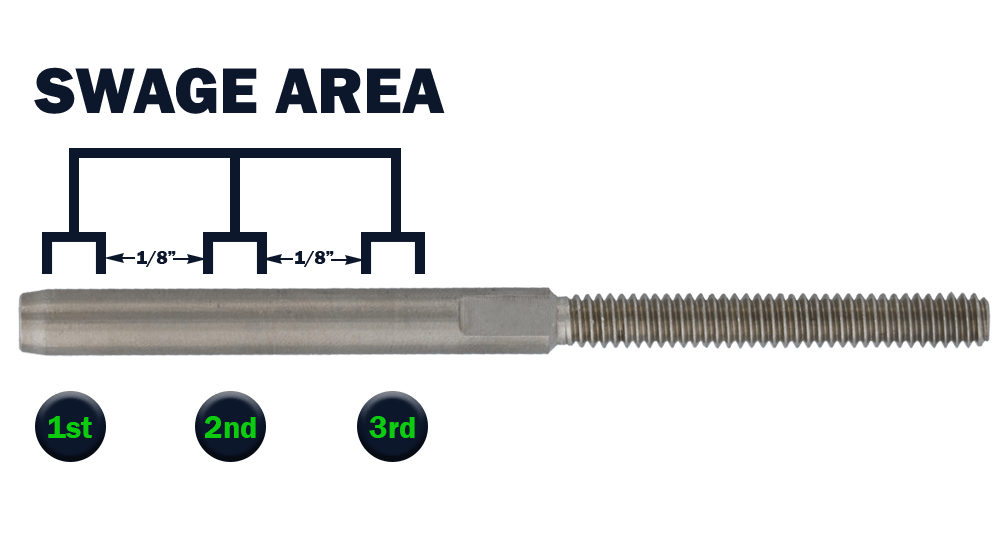
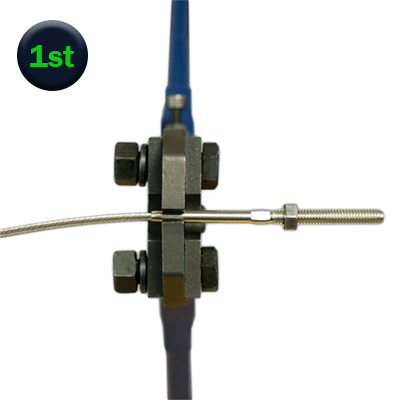
Swage the fitting until the handles of the swager are completely closed, if the handles do not close completely, close as much as possible without bending the stud.
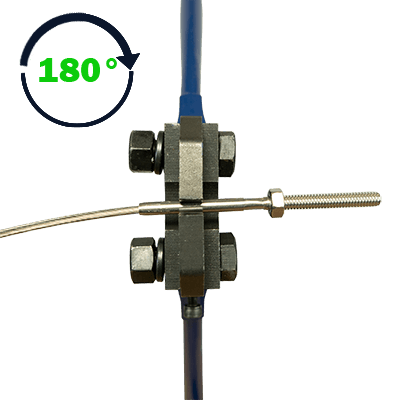
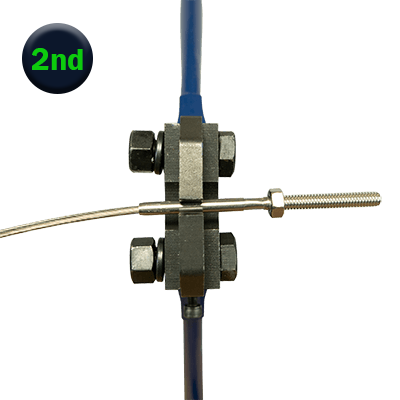
Rotate the fitting 180 degrees, then move the swager jaws 1/8” of an inch from the previous swage into the 2nd swage area. Then Swage the fitting until the handles of the swager are completely closed, if the handles do not close completely, close as much as possible without bending the stud.
Rotate the fitting 180 degrees, then move the swager jaws 1/8” of an inch from the previous swage into the 3rd swage area. Then Swage the fitting until the handles of the swager are completely closed, if the handles do not close completely, close as much as possible without bending the stud.


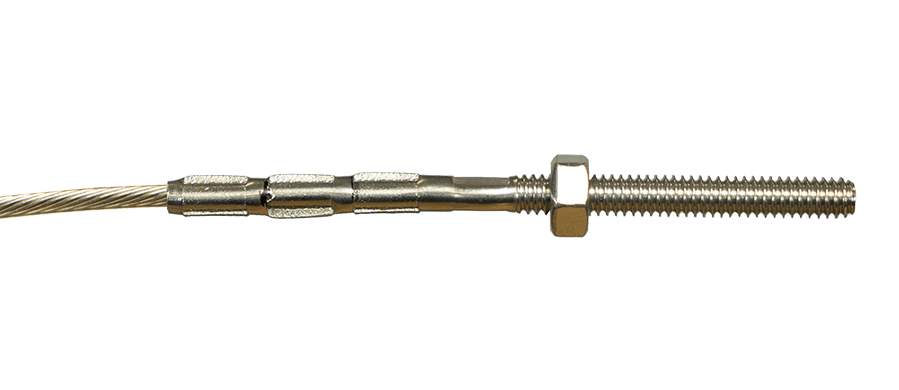
Your fitting should look like this (1/8” Conventional Swage Stud Shown)
Conventional hand swage cable railing fittings are designed to achieve pullout loads of 60% cable breaking load when properly swaged onto 1x19 Stainless Cable.
WE DO NOT WARRANT USE OF THESE TERMINALS FOR STANDING RIGGING OR OTHER HIGH LOAD APPLICATIONS.