In this blog we’ll go through detailed explanation of HAAS AXIS Pivot End Stops and how to install them.
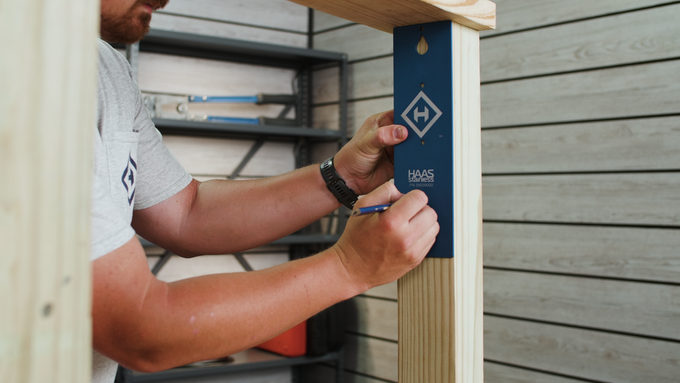
The first step in this installation will be to mark your post. Grab your marking template and mark the end or corner post for the screw pilot holes for your AXIS pivot end stops.
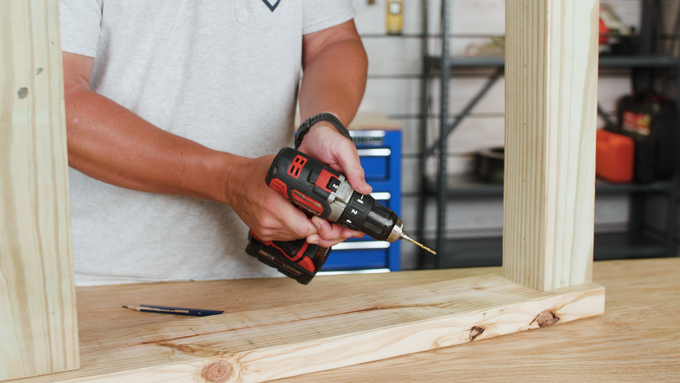
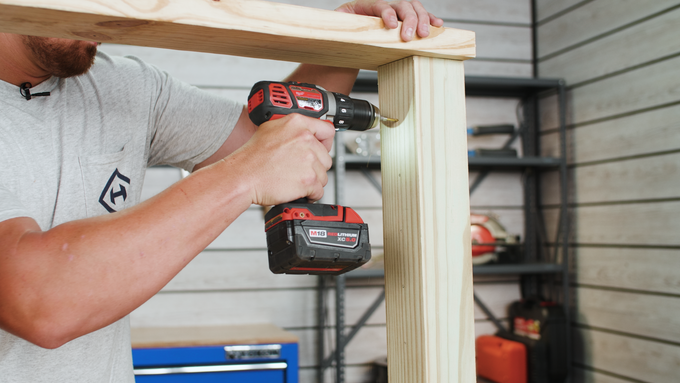
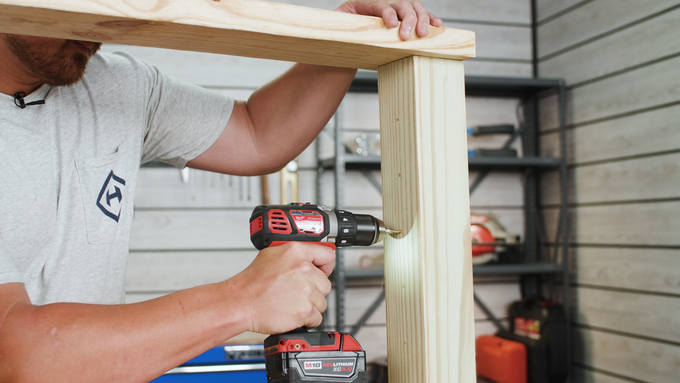
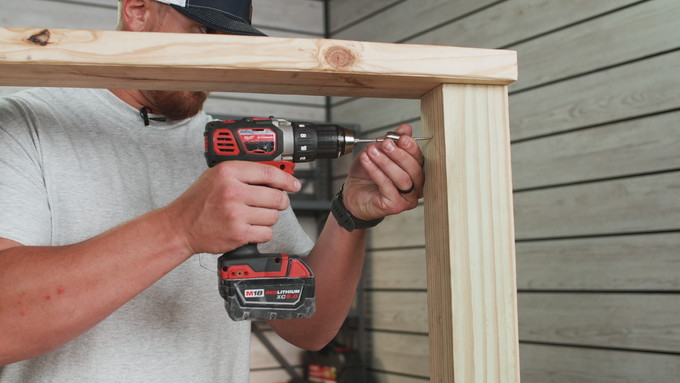
Once your holes are marked, grab your drill and make sure that it's set to its highest speed setting. Using a 1/8" bit, drill the pilot holes that are needed for your end stops at each mark approximately 2" into your post. Go ahead and repeat this process for all the marks on the post.
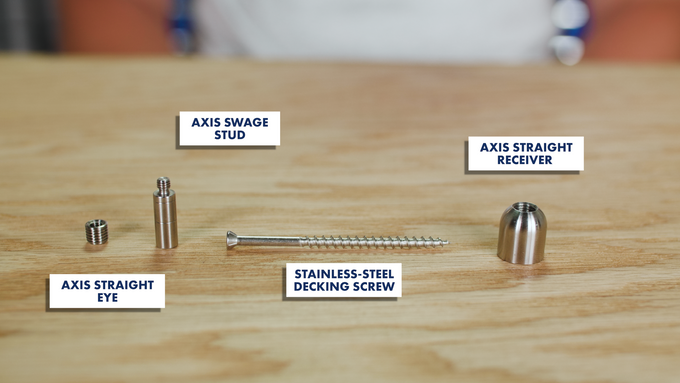
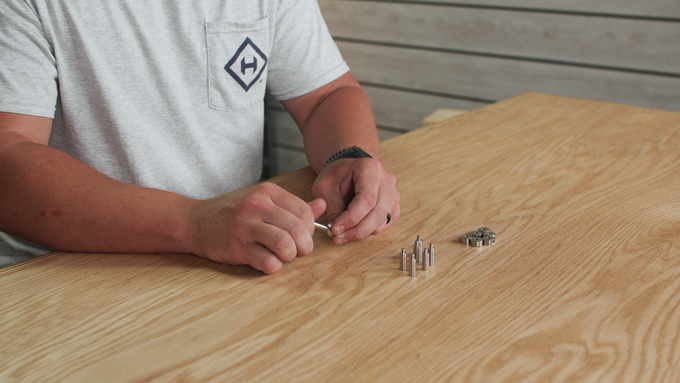
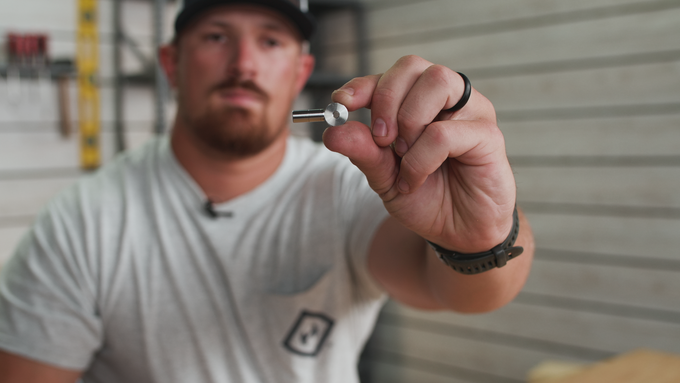
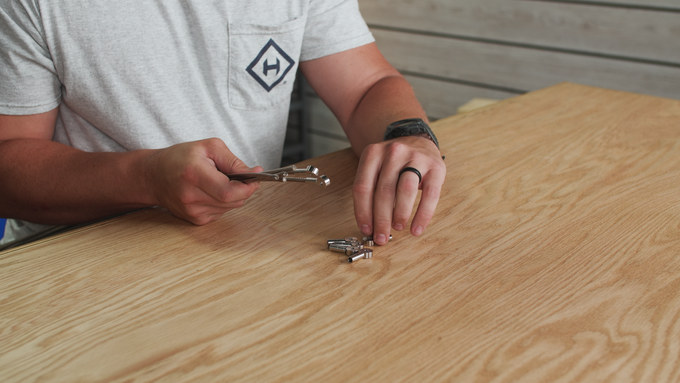
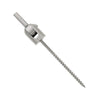
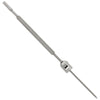
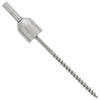
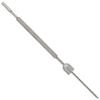
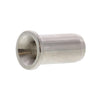
Your AXIS pivot end stops are going to be composed of five different parts. You have your AXIS pivot receiver, a stainless-steel decking screw, an AXIS pivot eye, an AXIS swage stud and an AXIS pivot receiver pin.
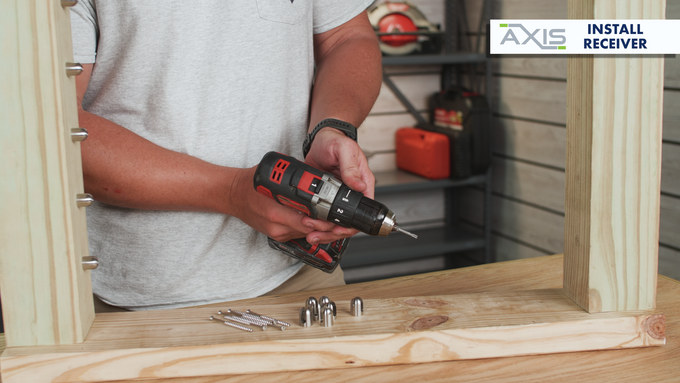
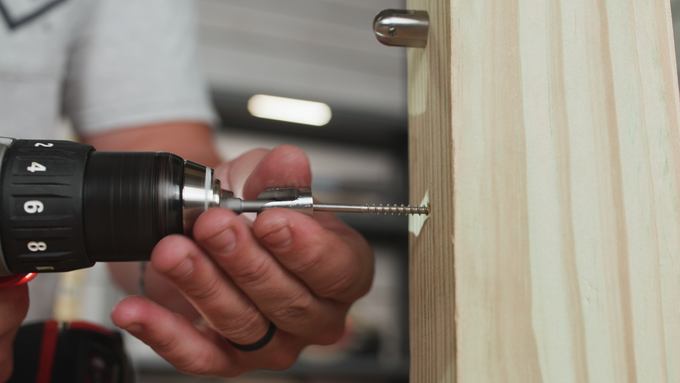
The next step in this install is to mount your AXIS pivot receivers to your post. Start off by securing a T-20 star bit into your drill and set your drill to its lowest speed setting.
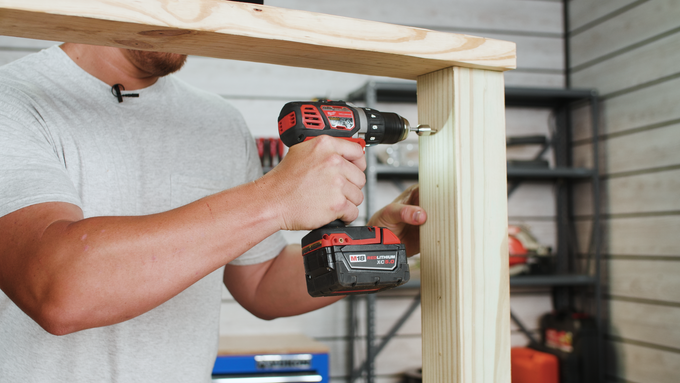
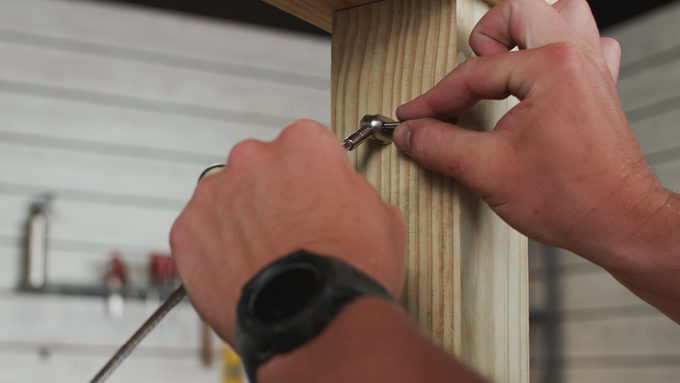
Pass the stainless-steel mounting screw through the AXIS pivot receiver and then drive the screw and receiver into the post.
Continue drilling until the receiver fits snug up against the post.
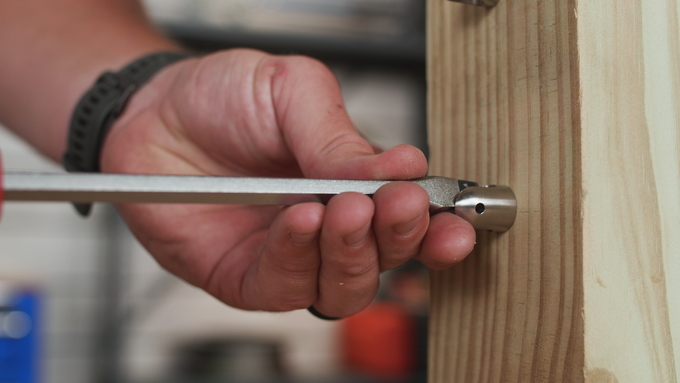
Use a flathead screwdriver to rotate the receiver and whatever orientation is needed for the run. Repeat this process for all your remaining pivot receivers at the post.
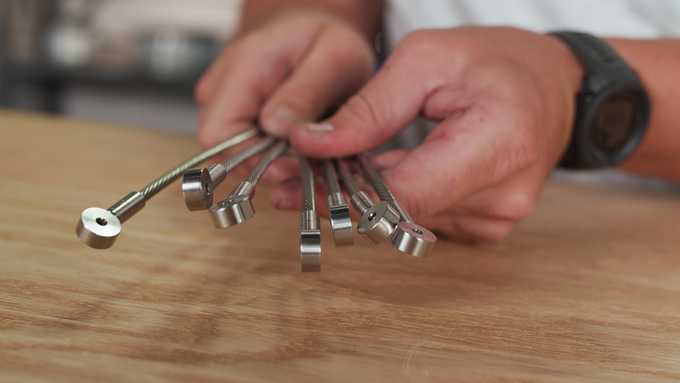
With your receivers now installed, the next step in the process will be to attach each of your precut cables to the receivers. Locate your AXIS pivot receiver eyes and swage studs and then pre-thread them together.
Then insert each of your precut cables into your AXIS swage studs. Make sure when doing this, that the cable is seated at the back of the swage cavity.
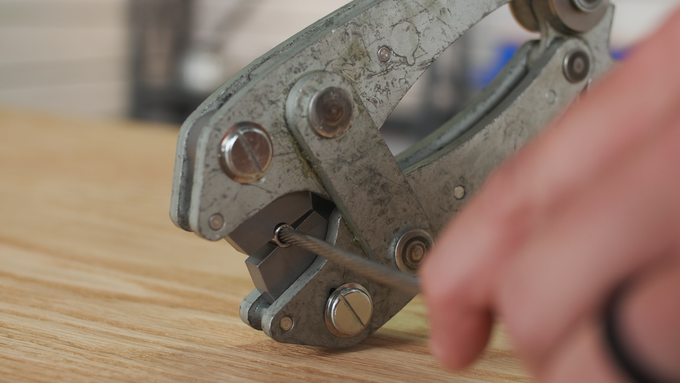
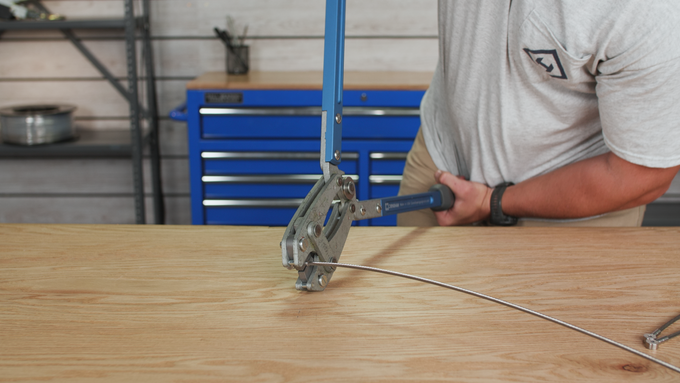
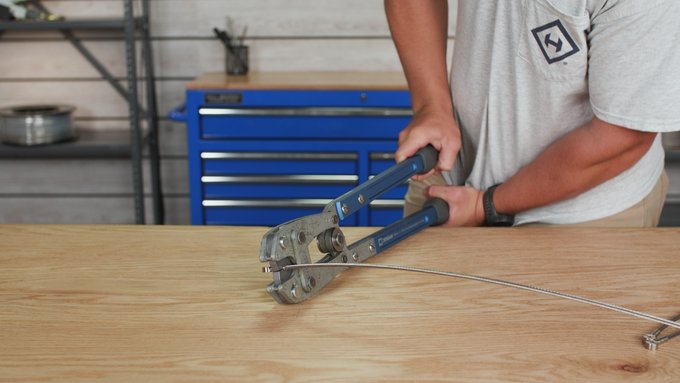
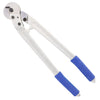
With your AXIS swage studs fixed at the end of your cables. Grab your swaging tool and then swage on each stud for each cable in the run.
Once your swage stud is properly aligned in the die, close the handles of the swager to make your first swage, then slightly open the handles, Rotate the stud about 90 degrees and then make your second and last swage on the stud. Remember when swaging to position the die of the swager within the swage area on the stud. Repeat this process for all the cables and swage studs for the run.
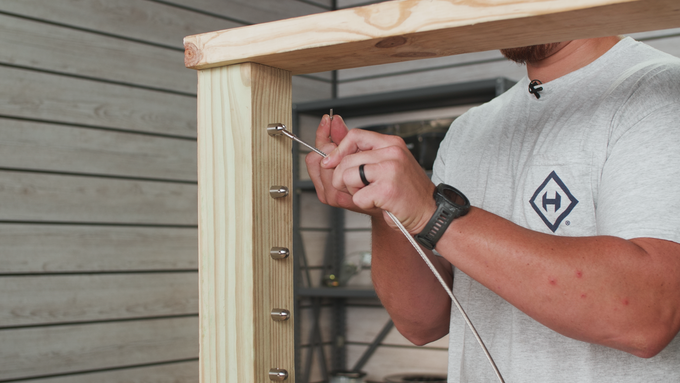
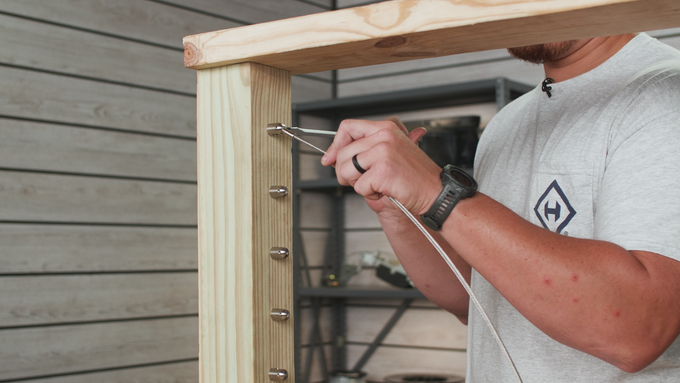
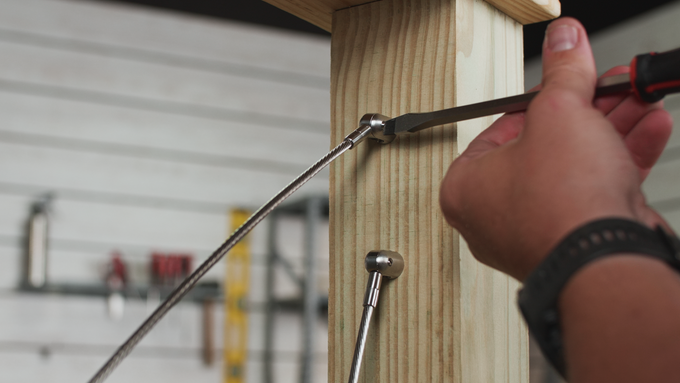
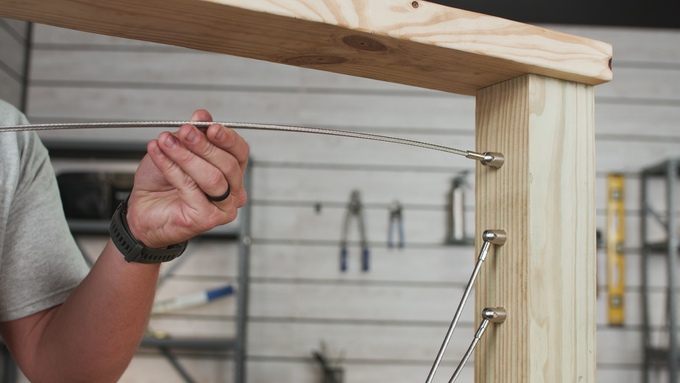
Once your AXIS swage stud and pivot receiver eye have been swaged on to the end of your cable, insert the cable into the slot in the receiver and secure it in place with the pivot receiver pin.
Use a flathead screwdriver to tighten the pin in place.
Once you've completed this process for the remaining end stops, you'll be ready to attach your cable to the tensioning fitting at the opposite end of the run.

