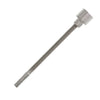
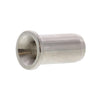
In this blog we’ll go through detailed explanation of HAAS REVO Standard and Low-Profile End Stops and how to install them.
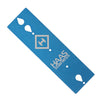
To start off, grab your marking template and then mark your posts on each side for the holes that you're going to be drilling. When drilling your post for through post cable railing fittings, we've found that the best method is to drill halfway from one side of the post and then halfway from the other so that the two holes will conjoin in the middle. The reason for this is so that the bit won't splinter as it comes out the backside of the post.
With our holes now marked, grab your drill and 3/8" spade bit and be sure to set your drill to its highest speed setting.
Align the tip of the drill bit with the mark that you have on your post and try and get the drill bit as straight and level in relation to the post as you can. Then start drilling until your hole depth is about halfway through the post. Go ahead and repeat this process for all the remaining marks on that side of the post. Now switch to the other side of the post and repeat this entire process until all your holes are going to match up.
When you're done drilling, be sure to clear out any sawdust that may be left in your holes from drilling.
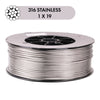
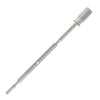
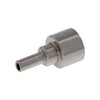
Now that you've drilled all the holes at your post for this run, grab all your precut cables, and then slide on either your standard or low profile and stops for the run that you're working on. Make sure when doing this that your cable is seated all the way inside of the swage cavity.
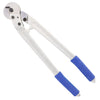
With your end stops are already pre-assembled on your cables, grab your swaging tool and then swage on each end stops for all the cables for the run. Remember when swaging to position the die within the swage area on the end stop.
The swage area is designated by a small indicator line as you see here.
Once your end stop is properly aligned in the die close the handles of the swager to make your first stage then slightly open the handles, rotate the end stop about 90 degrees and then make your second and final stage on the end stop. Repeat this process for all the cables and end stops for the run.
Next, all you'll need to do is feed the end of each of your cables through the back side of your post until your end stops are seated in each hole.
If you're using wood post protectors like we are today, slide those on your cable and insert those in your post.
At this point, all your end stops should be installed and now you're ready to complete the remainder of your cable run.


