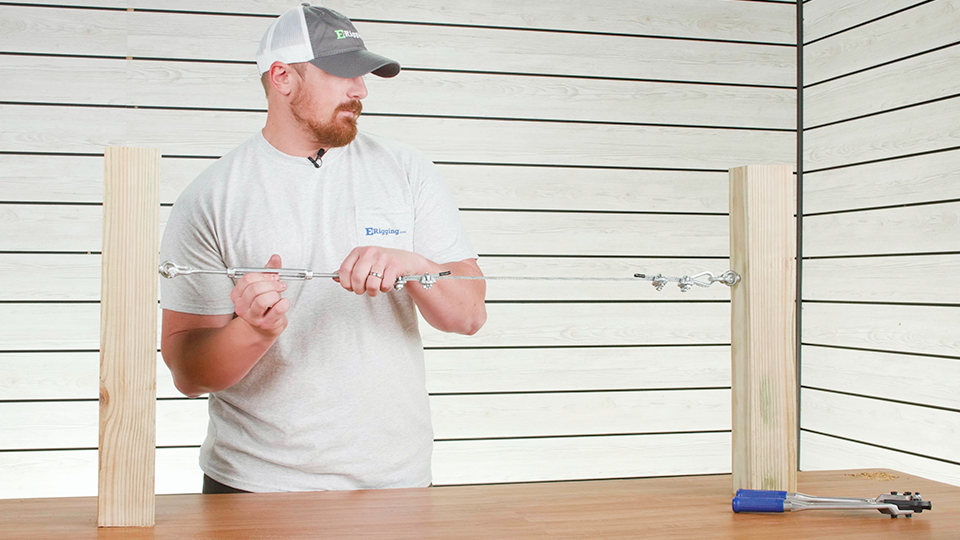
The rigging technique Tyler demonstrates can be adapted to any static rigging application. Our customers have successfully used this guide to build dog runs, sunshades, rig string lighting, and secure newly planted trees.
While there are multiple ways to create a basic cable rigging assembly, it's essential to remember that this video is for demonstration purposes only. However, all the components Tyler uses are suitable for real-world applications. Ensure that all your components meet the necessary working load limits to prevent any mishaps. Double-check the compatibility of each part by examining their dimensions.
Each procedure Tyler shows is listed below:
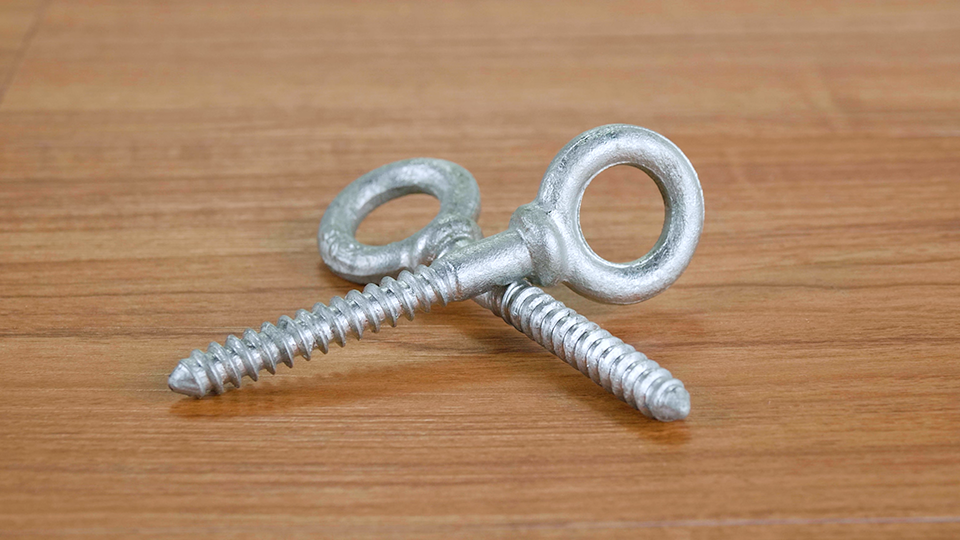
- Install Eyebolts
Eyebolts come in various styles, and Tyler opts for Shoulder Lag Eyebolts since he's creating an assembly between two treated 4x4 posts. If you require extra security or plan to install them into a metal surface, you can choose regular shoulder eyebolts that pass through the post and secure the back with a nut and washer.
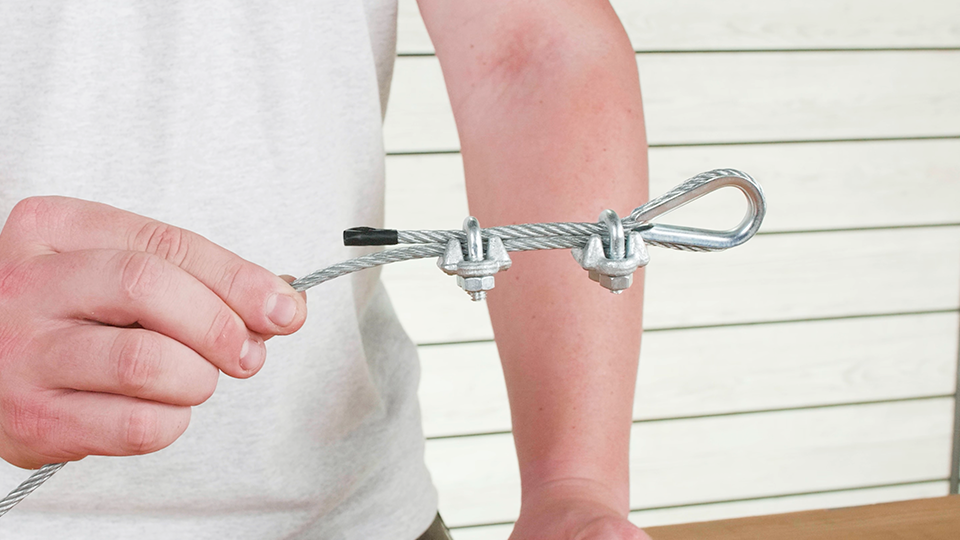
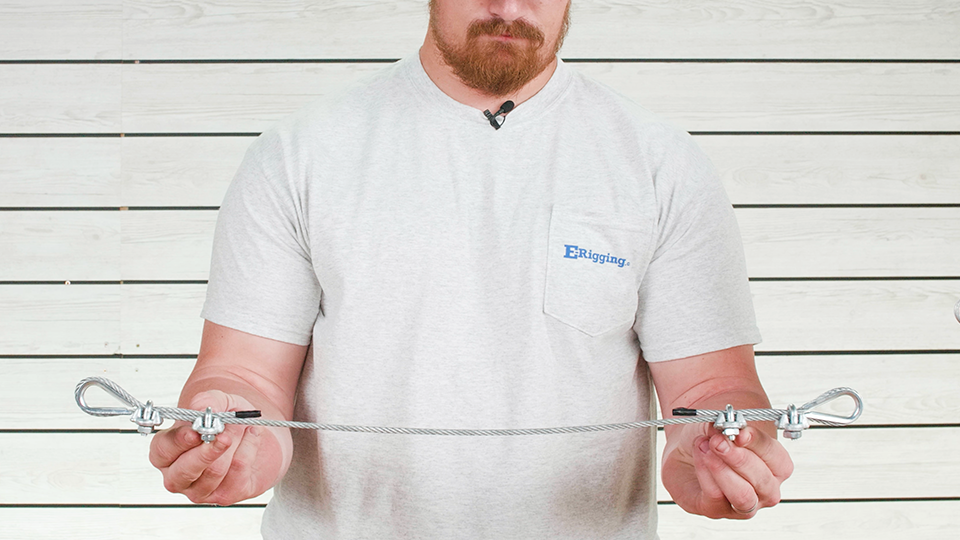
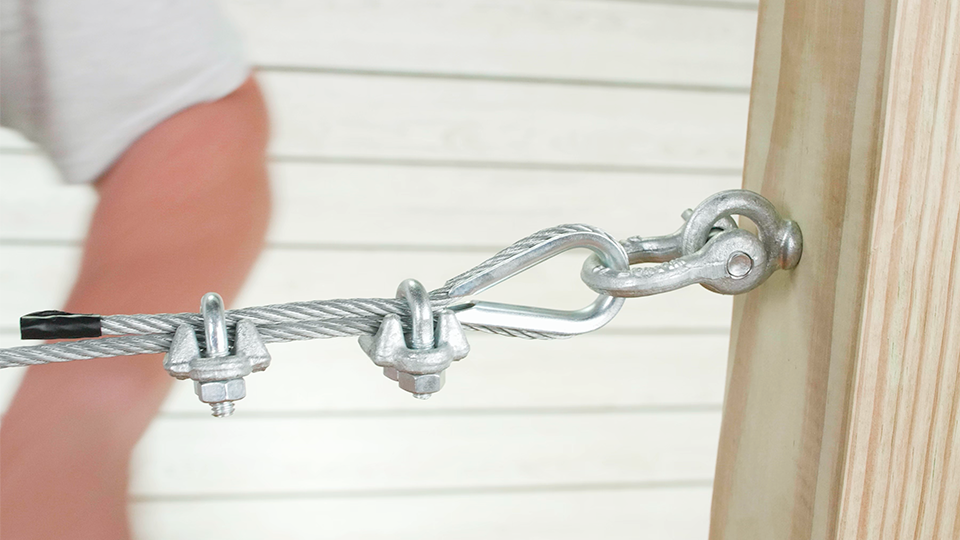
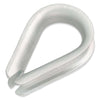
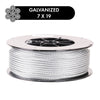
- Fabricate Eyes in the End of Each Cable Next will be to create loops at the ends of your predetermined cable length, Tyler uses Wire Rope Clips and Wire Rope Thimbles. After installing these components, he wraps the raw cable ends with electrical tape to prevent dangerous fraying.
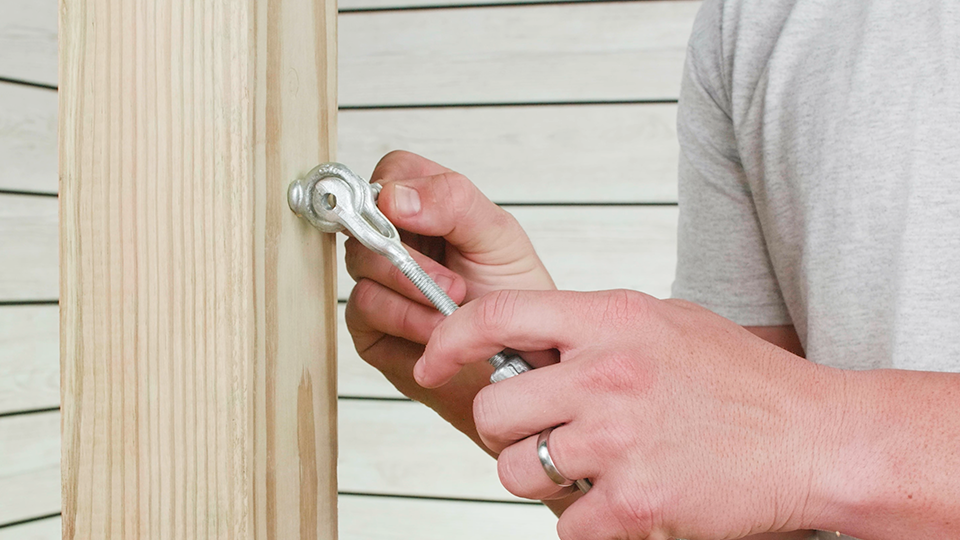
- Attach Turnbuckle
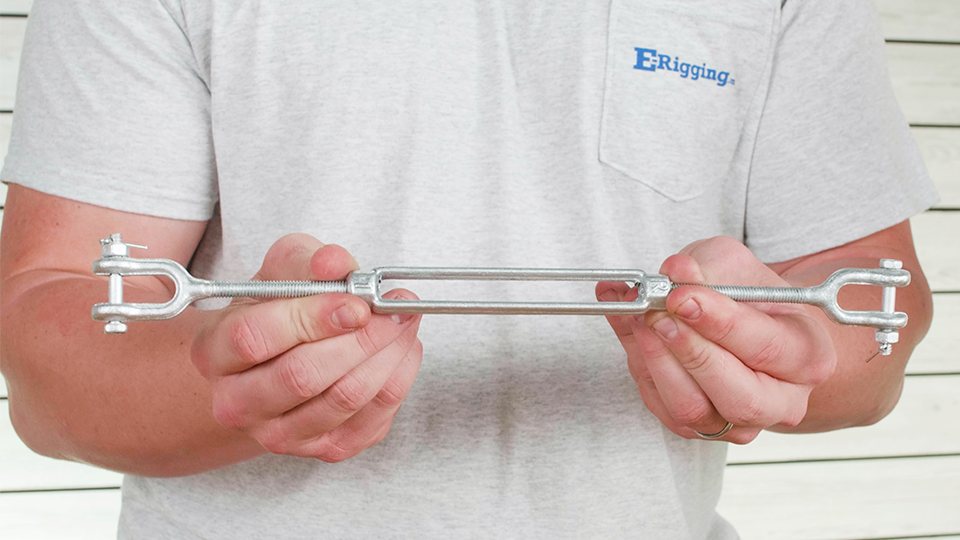
- In the video, a Jaw-Jaw type turnbuckle is used. It features two openings closed by inserting a cross pin. While Eye-Eye turnbuckles are often preferred for added strength, the Jaw-Jaw type is suitable for most DIY applications. Connect one side of the turnbuckle to one of the eyebolts. Adjust the turnbuckle to its maximum take-up to ensure you have enough threads for tensioning the assembly later.
- .
- Complete and Tension.
Attach one side of the cable to the jaw of the turnbuckle and the other to the eyebolt using an anchor shackle. Rotate the turnbuckle body until the cable reaches the desired tension.
E-Rigging proudly features projects from our creative customer base once a month. If you are interested in having your project featured in an upcoming post, contact: diy@e-rigging.com

