In this blog we’ll go through detailed explanation of HAAS AXIS Pivot Tensioners and how to install them.
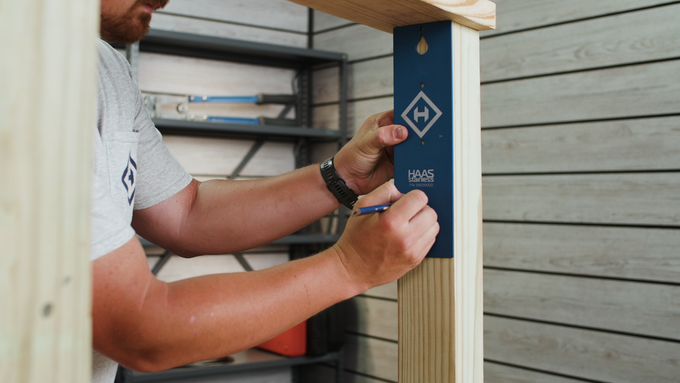
The first step in this installation will be to mark your post. Grab your marking template and mark the end or corner post for the screw pilot holes for your AXIS pivot tensioners.
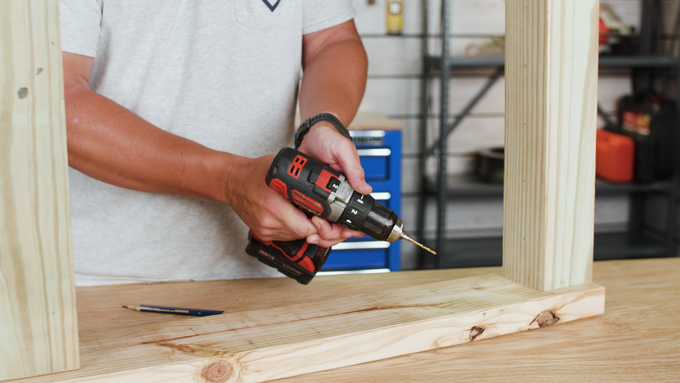
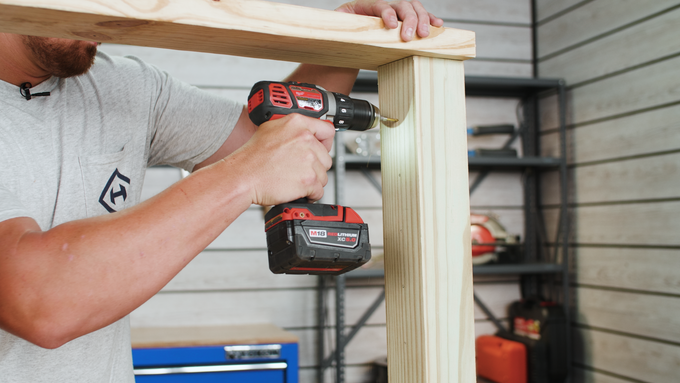
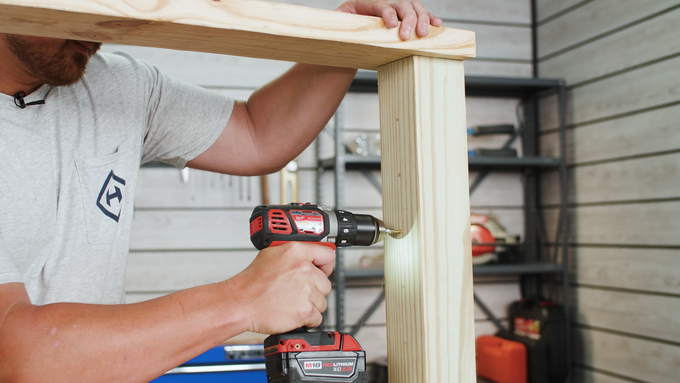
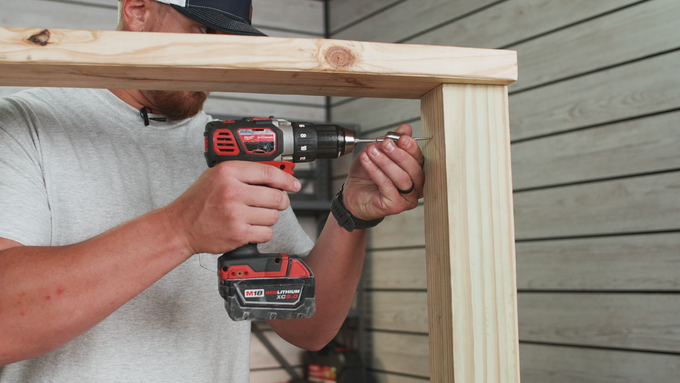
Once your holes are marked, grab your drill and make sure that it's set to its highest speed setting. Using a 1/8" bit, drill the pilot holes that are needed for your end stops at each mark approximately 2" into your post. Go ahead and repeat this process for all the marks on the post.
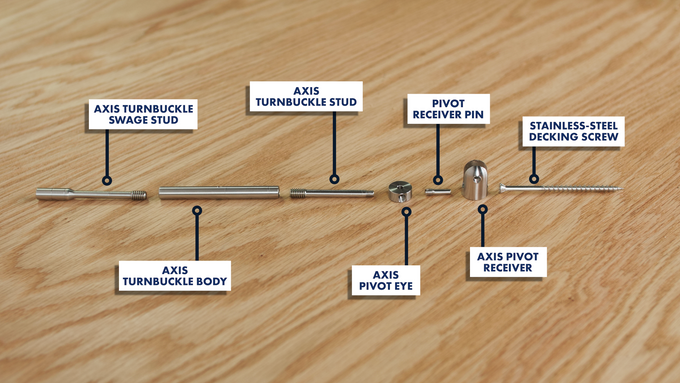
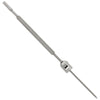
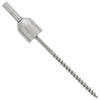
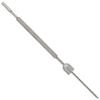
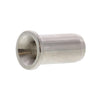
Your AXIS pivot tensioners are going to be composed of seven different parts. A stainless-steel decking screw, an AXIS pivot receiver, a pivot receiver pin, an AXIS pivot eye, a turnbuckle stud, a turnbuckle body, and a turnbuckle swage stud.
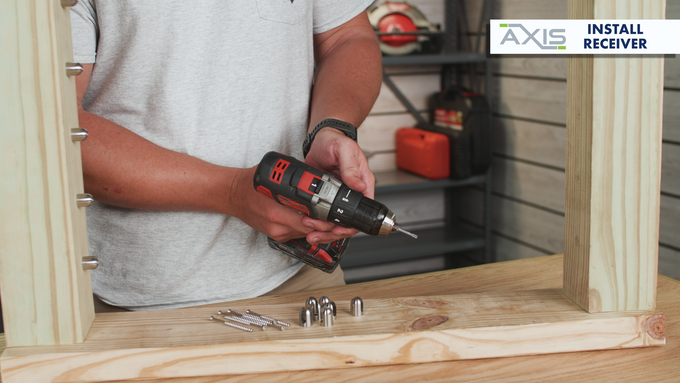
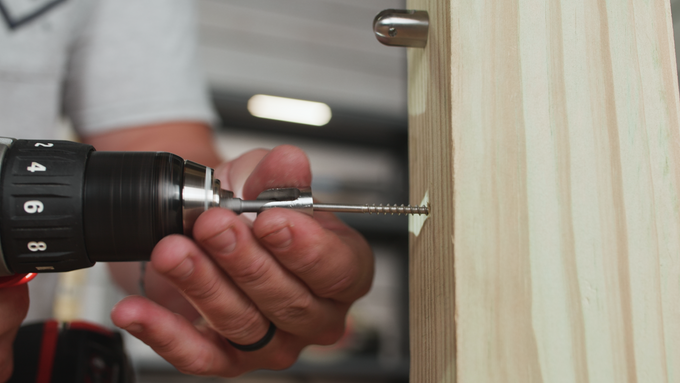
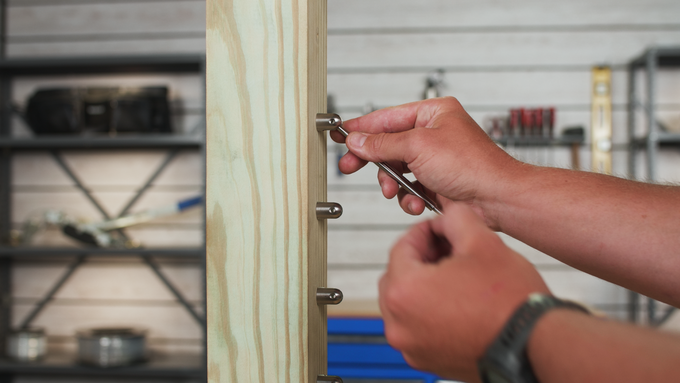
The next step in this install is to mount your AXIS pivot receivers to your post. Start off by securing a T-20 star bit into your drill and set your drill to its lowest speed setting.
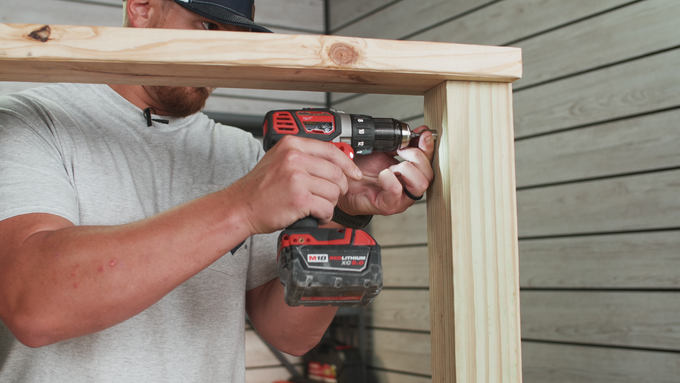
Pass the stainless-steel mounting screw through the AXIS pivot receiver and then drive the screw and receiver into the post.
Continue drilling until the receiver fits snug up against the post.
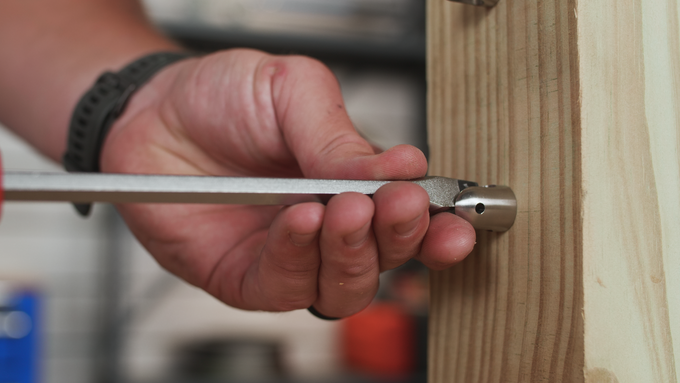
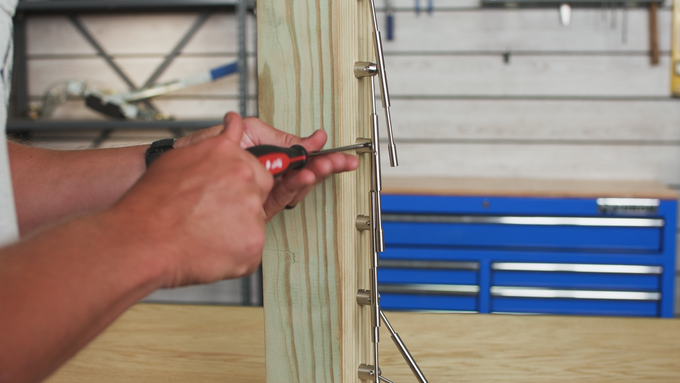
Use a flathead screwdriver to rotate the receiver and whatever orientation is needed for the run. Repeat this process for all your remaining pivot receivers at the post.

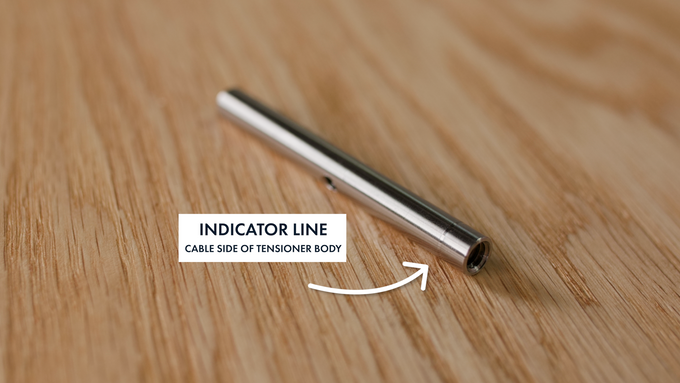
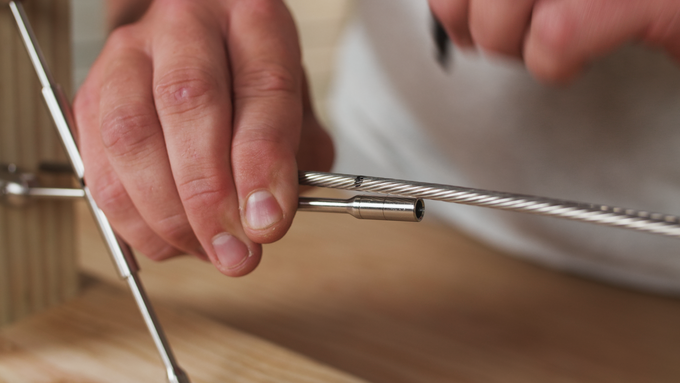
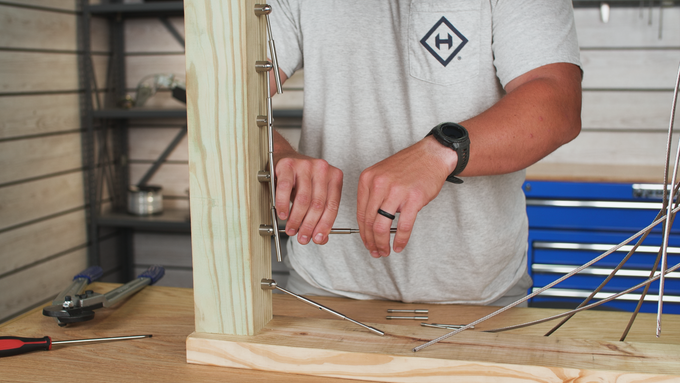
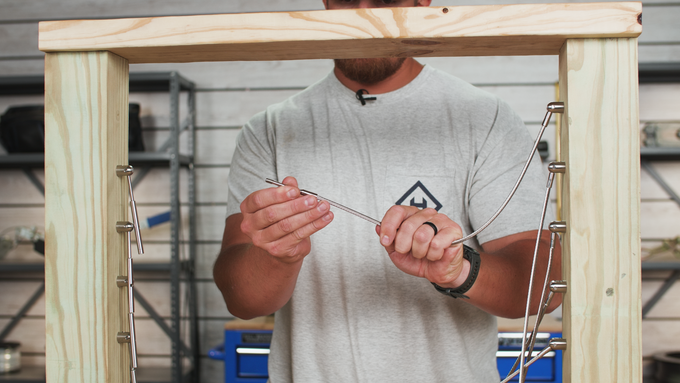
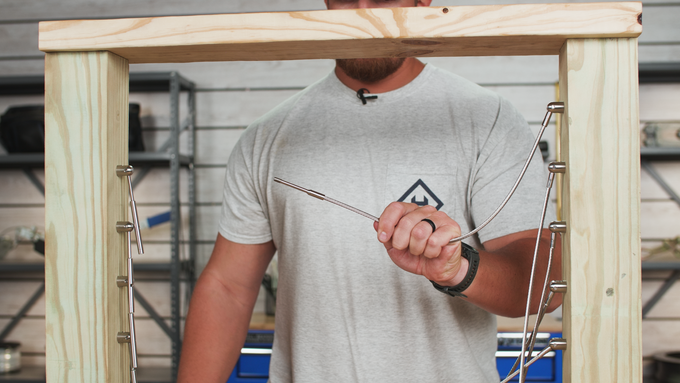
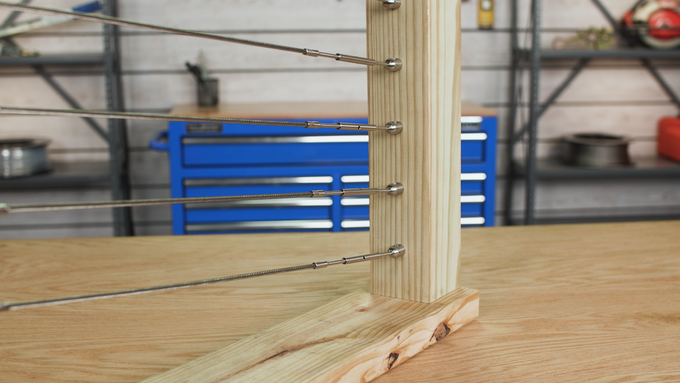
Now that all your pivot receivers have been pre-installed at your post, the next step in the process is going to be to pre-assemble all the remaining parts of your AXIS pivot tensioners. The first part that you're going to grab is going to be your turnbuckle body. Your turnbuckle body is right hand threaded on one side and left hand threaded on the other side. The left-hand threaded side of the turnbuckle body is going to be designated by a small indicator line that you see here. Thread your turnbuckle swage stud into the left-hand side of your turnbuckle body, then thread the turnbuckle stud into the right-handed side of the turnbuckle body. When assembled correctly, the threads of both studs should be barely hidden inside of the turnbuckle body. Lastly, thread the pivot eye into the turnbuckle stud. Repeat this process for all your remaining AXIS pivot tensioners for the run.
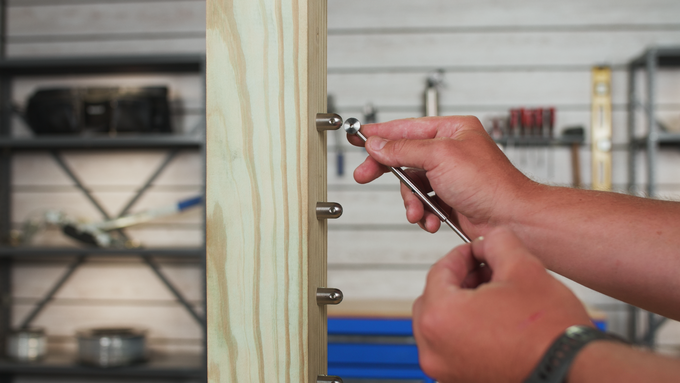
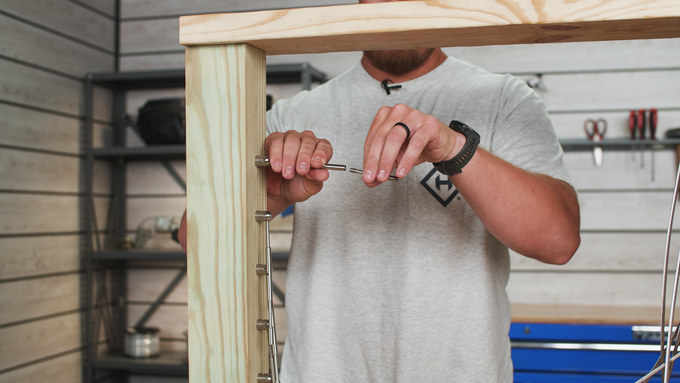
Now insert your pivot tensioner into the slot in the receiver and secure it in place with the pivot receiver pin.
Use a flathead screwdriver to tighten the pin and place.
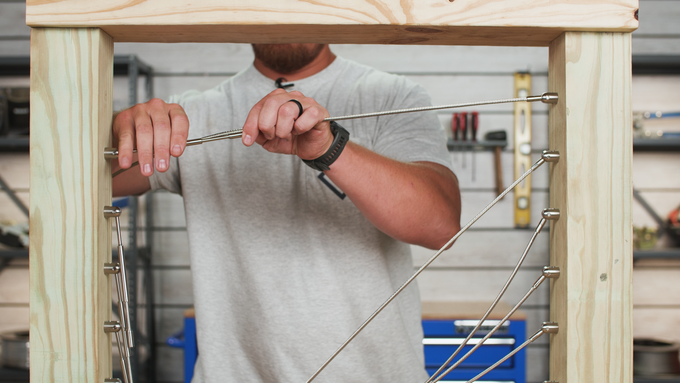
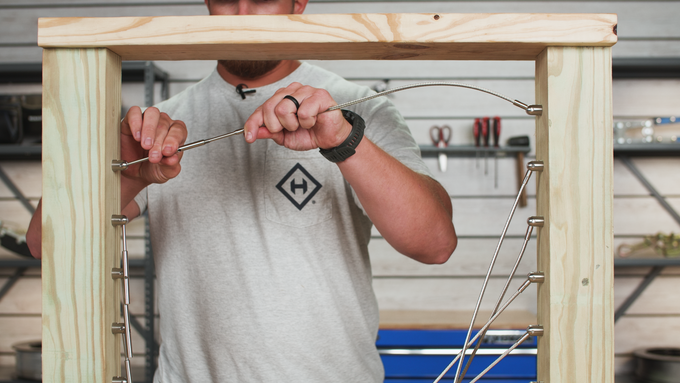
Grab your cable and then pull the cable hand tight so that all the slack is out of the cable.
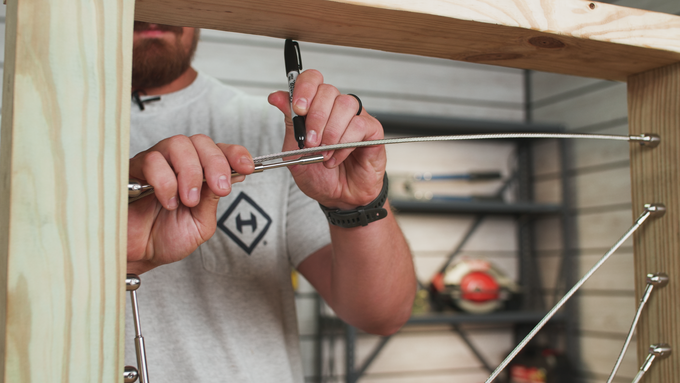
With your cable tight, run the cable just over the top of the turnbuckle swage stud and mark the cable at the second measurement line on the stud.
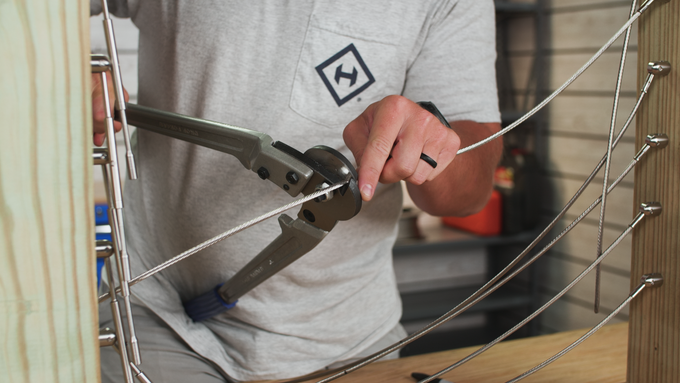
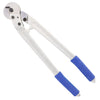
Use your cable cutters to cut the cable at the mark that you just made.
With your cable trimmed, remove the turnbuckle swage stud from the turnbuckle body while preventing the turnbuckle body from unthreading.
Insert the end of your cable into the swage cavity of your turnbuckle swage stud. Make sure the cable is properly seated in the back of the cavity.
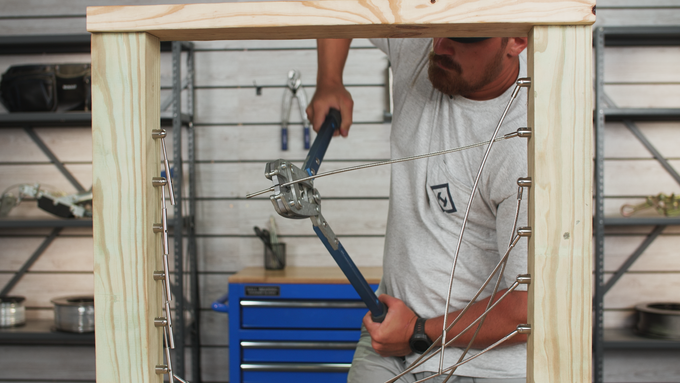
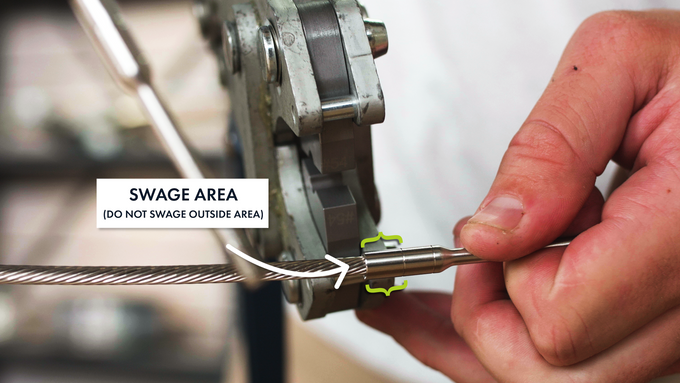
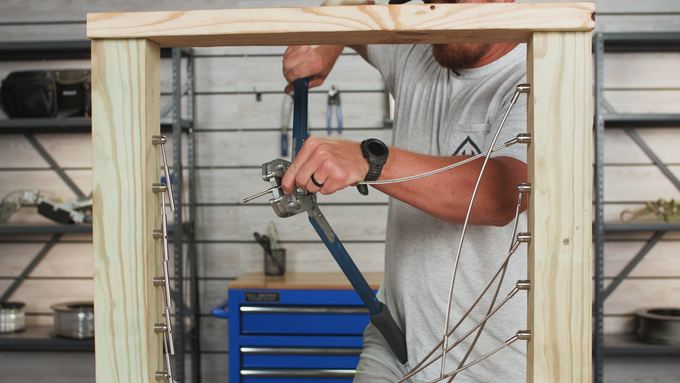
Insert the swage stud into the die of your swager and position the die within the swage area on the stud.
The swage area is between the opening of the cavity and the small indicator line that you see here.
Once your stud is properly aligned in the die, close the handles of the swager to make your first swage, then slightly open the handles, rotate the cable about 90 degrees and then make your second and final swage on the stud.
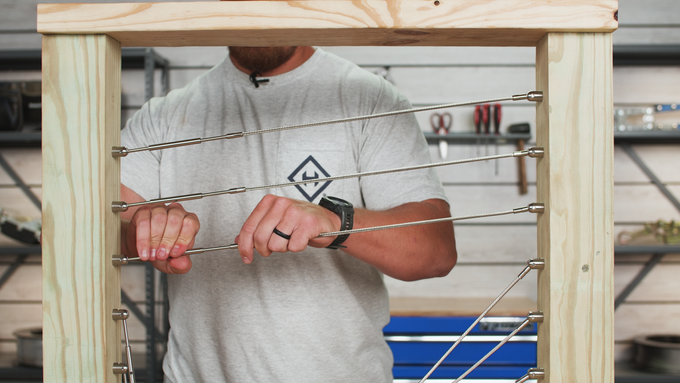
Unscrew your turnbuckle body so that just a few threads on the turnbuckle stud are showing. Then insert the turnbuckle swage stud back into the turnbuckle body and then rotate the turnbuckle body until your AXIS pivot tensioner is hand tight.
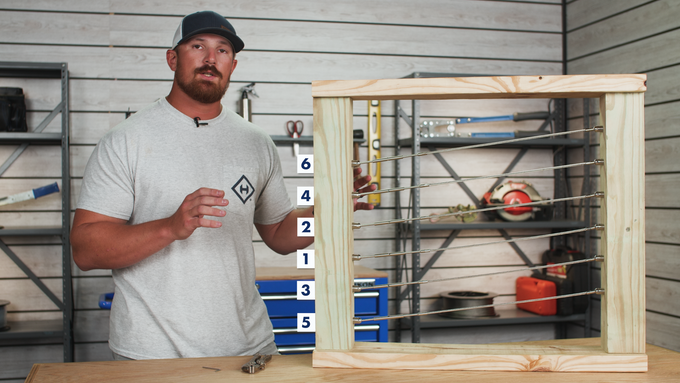
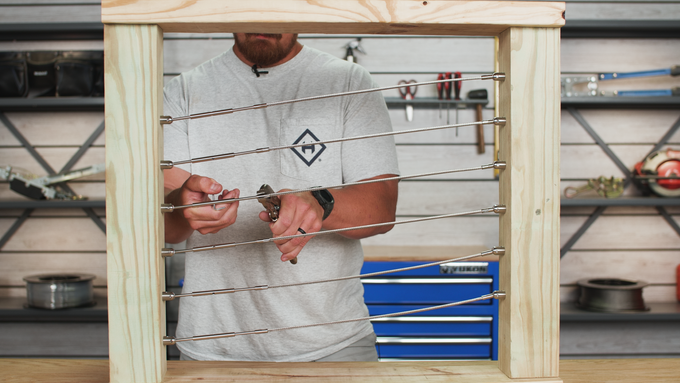
Now that you've got all your tensioners hand tight, the next step is going to be to complete your final tensioning. Now, whenever you do this, you want to make sure that you're following a tensioning sequence. Now, the way that that sequence is going to work is you're going to start with your cable in the middle. Then move to the cable above it and then below it. And you're going to continue with that same sequence throughout all the rows of cable in your run. And that's going to be the same sequence that you're going to follow, regardless of how many cables you have in your run. So now to start tensioning up your cables.
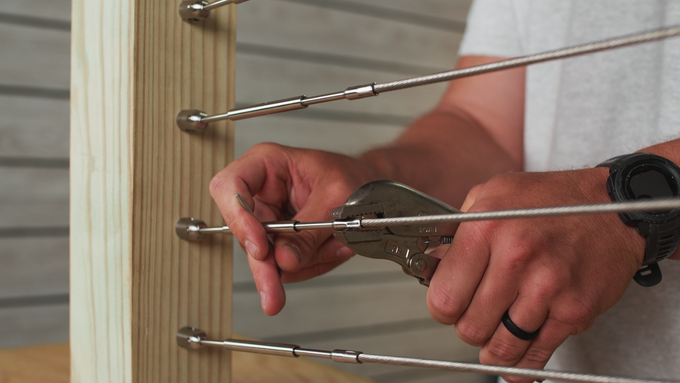
You're going to need two tools; you're going to need a vise-grip and then also an Allen wrench or a similar type of tool. The first thing that you're going to do is you're going to take your vise-grip and you're going to clamp on to the turnbuckle swage stud that your cable is attached to. This prevents the cable from rotating and twisting, because if the cable does rotate or twist during the tensioning sequence, once your cables are nice and tight and a little bit over time, that cable could gradually loosen. So, you want to make sure that that turnbuckle swage stud is locked in place and your cable does not rotate.
So, with our turnbuckle swage stud locked in place, we're just going to take our Allen wrench. We're going to insert it through the hole in the turnbuckle body and all you're really going to do from that standpoint is just rotate your turnbuckle body until your cable reaches the desired tension that you're needing for your run. And it's going to be the exact same procedure for all the remaining cables for your run.
Once you've gone through the entire sequence, check the cables to make sure that they are equally tensioned, if not, tension any cables that may be looser than others. With all your cables now tensioned, this run is complete.

