Many cable railing DIYers are hesitant to drill holes in their wood posts. We’re here to put your worries to rest. By the end of this article, you will have a better understanding of the best methods for drilling holes for your cable railing system.
Best Drill Bits for Hole Drilling
Many components in a cable railing system rely on clean and accurate holes in your wood posts. So, we're going to go over a few different types of bits and recommend the best ones to use.
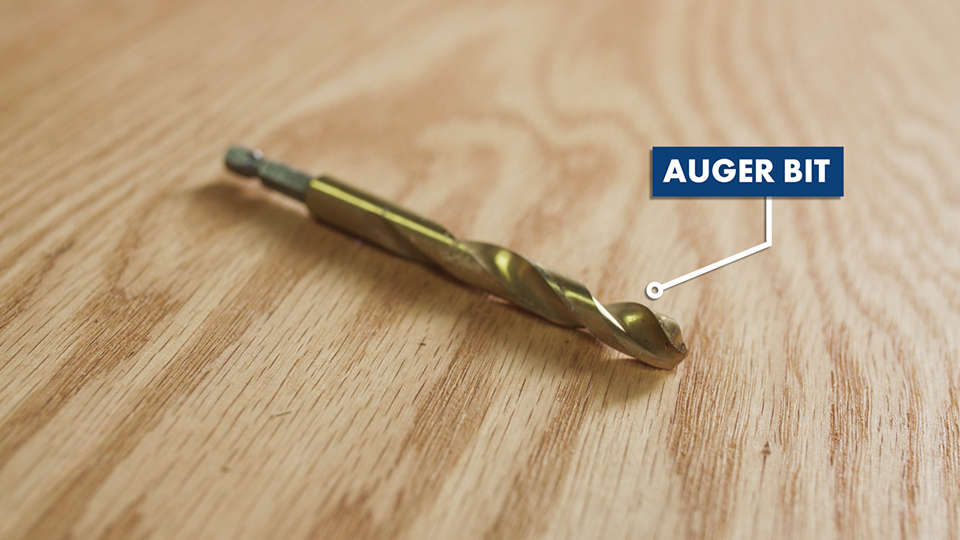
Standard auger style bits are common in construction and framing and they also can be used to install cable railing. However, the downside of using an auger style bit is that you're not going to get the cleanest entry on the surface of your post. They can also be a little bit more difficult to control than other options. 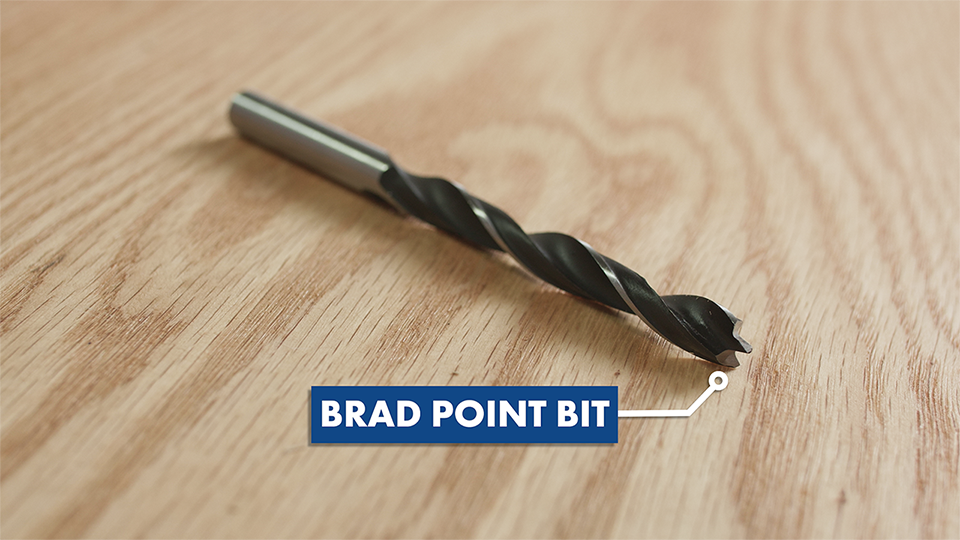
Next up, we have a Brad Point bit. Brad Point bits are excellent for cable drilling since they make a very clean entry hole into the surface of your post. However, keep in mind they can still be a little bit difficult to control.
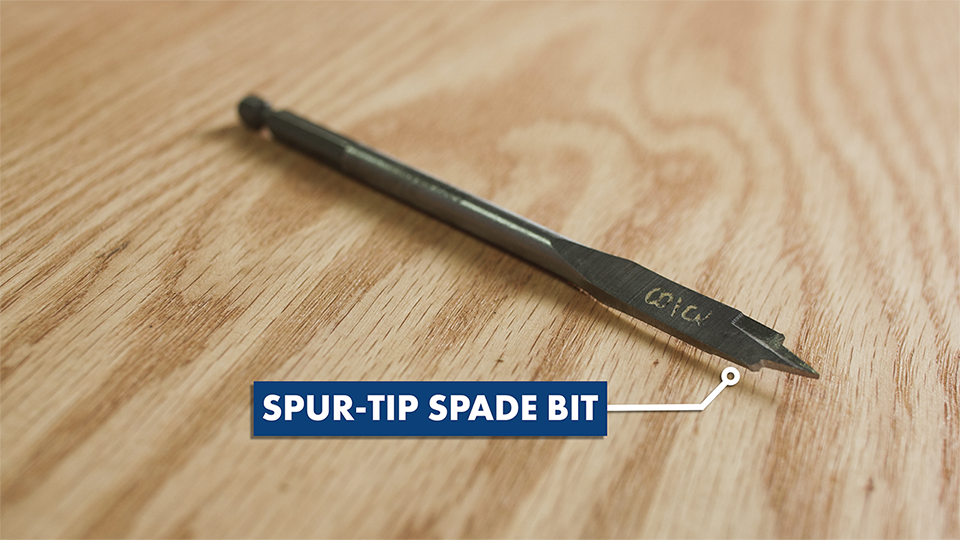
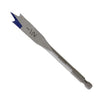
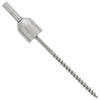
Our recommendation is to use spur-tip spade bits, also known as paddle bits. Spur-tip spade bits are going to give you the cleanest entry into the surface of your post and, they're going to give you the best control when drilling your holes. Just a quick note.
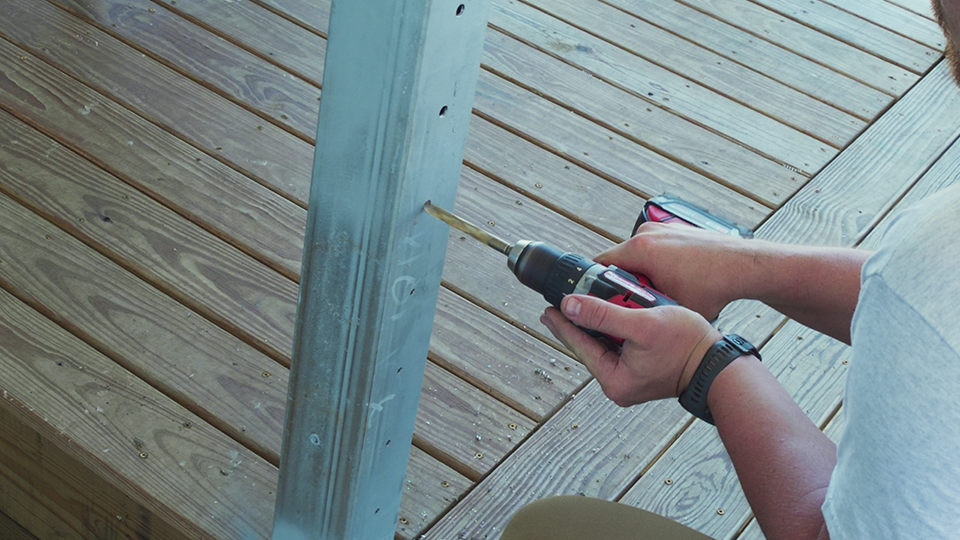
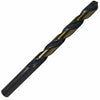
If you are drilling your holes for a metal post cable railing system, most metal bits will work completely fine, so choose the bit that you prefer.
Marking Your Holes
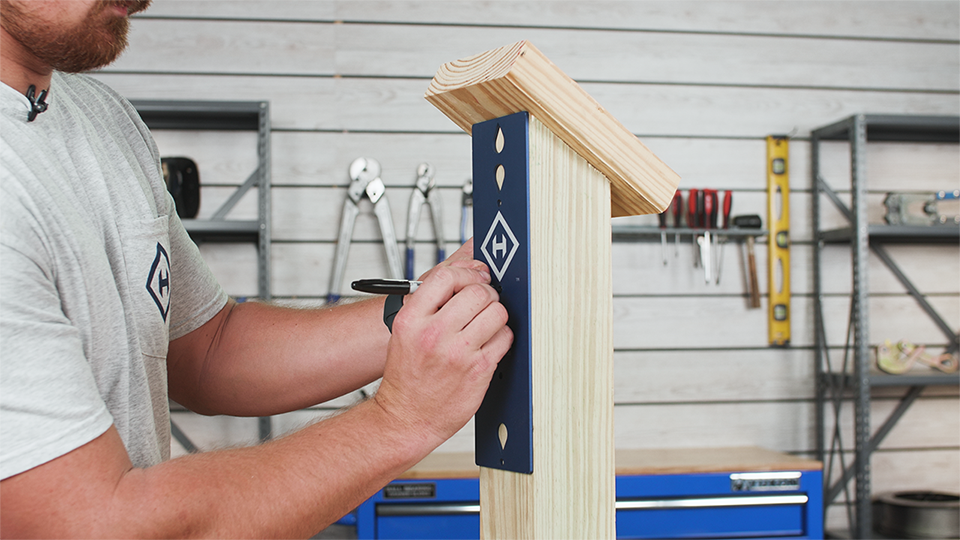
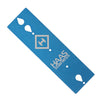
When installing your own cable railing system, you're going to need some sort of method to mark the posts for your holes that you're going to be drilling. And we recommend using a marking template. Here at HAAS Stainless, the marking template that we offer has hole marks spaced every 3” which is going to abide by national building code however, in your specific city or county, if you require a hole spacing that is larger or even smaller than 3”, you can easily make your own marking template at home.
Drilling Methods
When it comes to drilling the holes in your post, we recommend two different methods:
- Freehand drilling your holes
- Using a portable drill press
Freehand Drilling
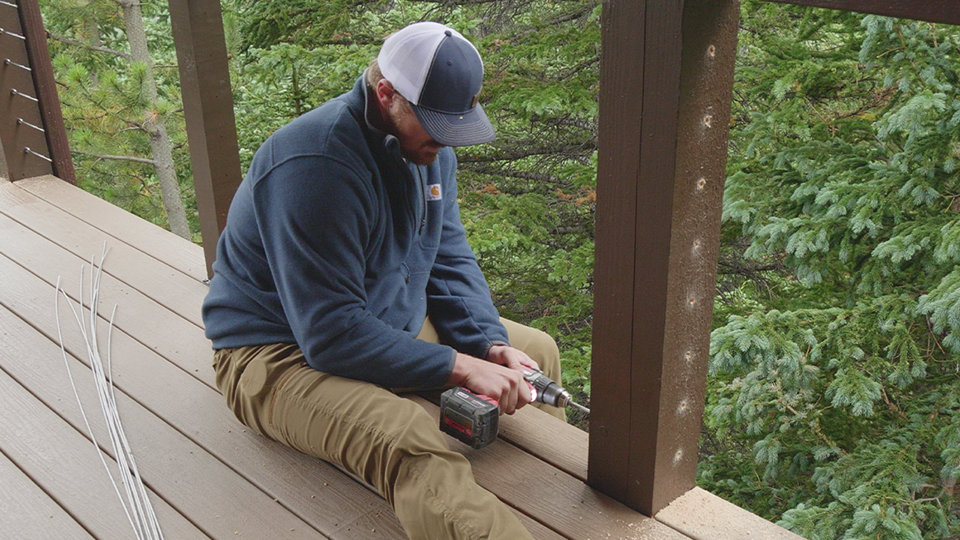 Freehand drilling your holes may sound a little bit tricky at first, but it's very easy to do and is a lot more accurate than you might think. Freehand drilling your holes is going to be the fastest method for drilling, and the best part is there's no additional cost or setup required.
Portable Drill Press
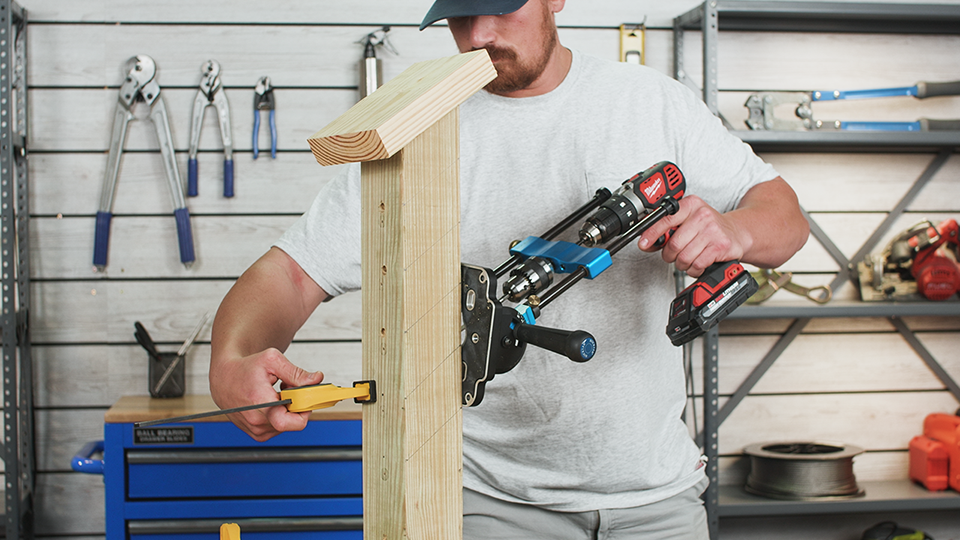
On the flip side, using a portable drill press is a great option since they'll give you very clean and accurate holes, especially when it comes to drilling angled holes, they do tend to take a little bit more time to set up. However, if a portable drill press is in your budget, then that might be the way to go.
How To Freehand Drill Straight Holes
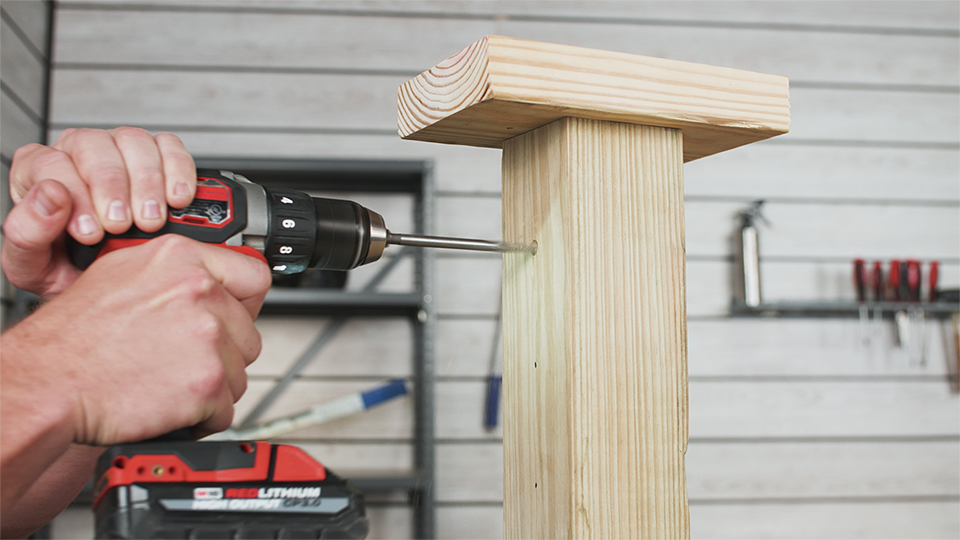
When freehand drilling your straight holes in either 4x4 or 6x6 posts, we recommend drilling halfway from one side of the post and then halfway from the other so that the two holes meet. Doing this will ensure that you have accurate and clean entry holes on both sides of the post. To start off, go ahead and use your marking template to mark each side of the post for the holes that you'll be drilling. Set your drill to its highest speed. Put the tip of the drill bit right on your mark and then center and level the bit to the best of your ability. Start drilling until your bit reaches about halfway through the post and then drill all your remaining holes on the same side of the post. Switch to the opposite side of the post and repeat the same process. You should end up with perfectly drilled holes running through your post.
How To Freehand Drill Angled Holes
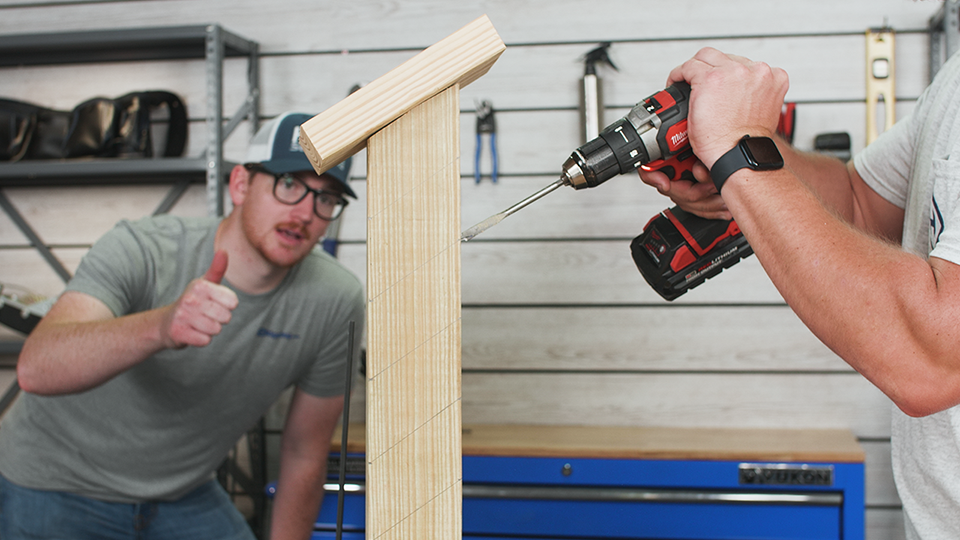
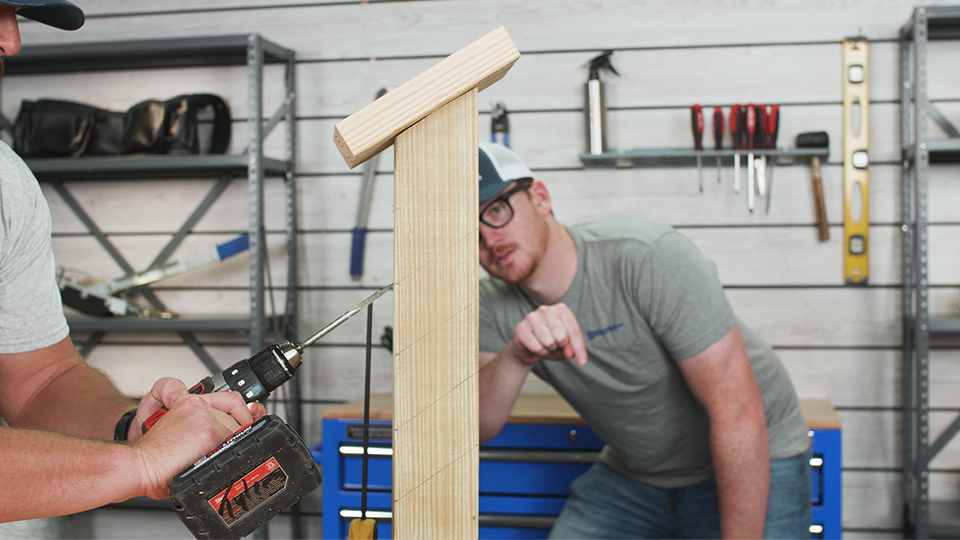
Freehand drilling your angled holes can be a little bit tricky at first. However, with a little bit of teamwork, I think you'll find that it's not that difficult. Start off by marking your holes on each side of the post, then use a speed square or similar tool to carry each mark over to the side of the post facing your stair tread. Connect the two marks with a pencil. You should end up with several lines running down the face of your post that match the pitch and angle of your handrail. The next step is where some teamwork is needed. Grab a friend and have them act as your spotter, ensuring that you maintain the correct angle for the holes that you're drilling. If you're the person drilling, place the tip of the drill bit on the mark for your hole. The person spotting will instruct you to either tilt the drill up or down until the shaft of your drill bit is in line with the mark on the side of your post. Once you've drilled halfway through your post, repeat the same process for the corresponding mark on the opposite side of the post so that both holes meet and make one continuous hole. Remember when using this method to take your time and maintain good communication with your spotter.
Need more information on installing your own cable railing system? Read The Basics of Cable Railing

