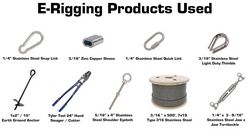
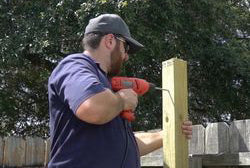
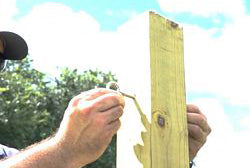
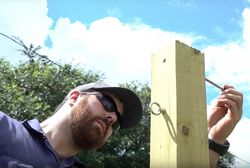
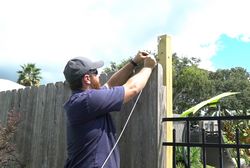
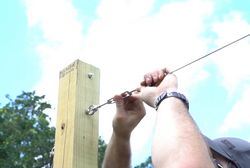
The first step in our project required us to install 2 stainless steel shoulder eyebolts into two separate pre-installed 4x4 posts.
The inside eyebolts will be used as attachment points for the cable assemblies used to suspend the sun shade over the pool and patio. The outside eyebolts will be used as separate attachment points for the cable assemblies providing structural support for the two posts.
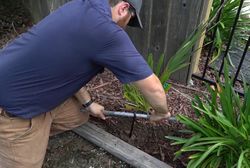
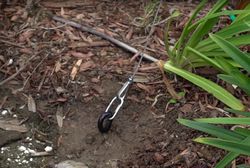
Once the eyebolts were installed, we screwed in earth ground anchors as ground attachment points for the supporting cable assemblies.
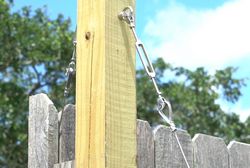
Next, we connected one end of a stainless steel jaw and jaw turnbuckle into the eyebolt, connected the other end to the cable assembly, and then, connected the cable assembly to the earth ground anchor.
We repeated the same process for the other cable assembly, and lastly, applied tension to the cable assemblies and posts by tightening the turnbuckles.
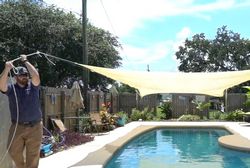
With both support cable assemblies installed, the next step in our project required us to install the other two cable assemblies used to suspend the sun shade over the pool and patio.
We connected each assembly to stainless steel jaw and jaw turnbuckles and connected them to the eyebolts we previously installed.
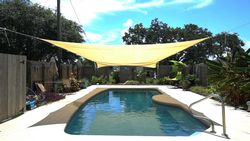
Once everything was in place, we tensioned each cable assembly with the turnbuckles, attached the sunshade to each cable run, and pulled the sun shade over the pool and patio, finishing our project.
Tips:
- Make sure the sunshade is big enough to cover your pool or patio.
- Choose a sunshade that's made of a durable material that can withstand the elements.
- Anchor the sunshade securely to prevent it from blowing away in the wind.
- Clean the sunshade regularly to keep it looking its best.
With a sunshade, you can enjoy your pool or patio all summer long, even when it's hot outside.
Visit our website for more information on the products we used and check out our
Youtube channel for more instructional videos on E-Rigging products.
Contact Us if you have any questions or need help finding the products for your next project.

