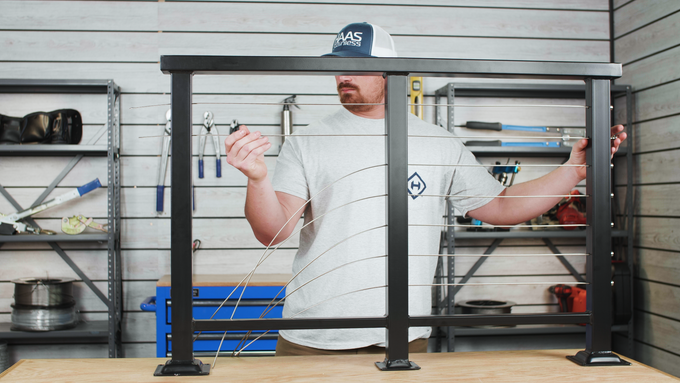
Metal post cable railing systems are just as popular as wood post systems and the REVO system that we manufacture here at HAAS Stainless is what you're going to be using for your metal post cable railing system. So first let's talk about the post dimensions and hole sizes that you'll need to take into consideration when installing REVO Thru-post Tensioners in metal posts.
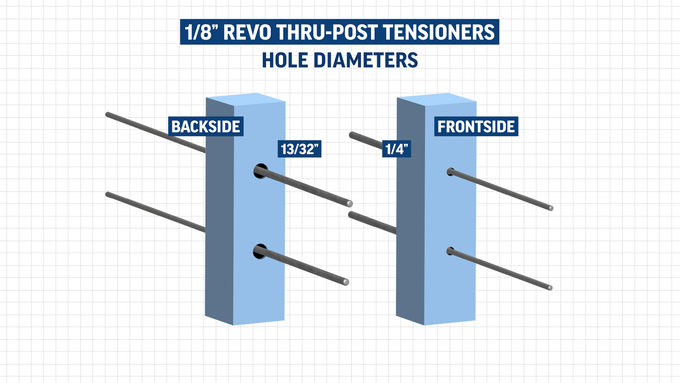
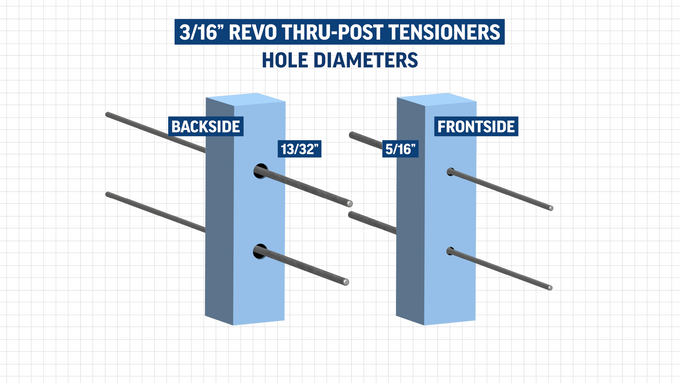
For 1/8” REVO thru-post tensioners, you will need to drill a 13/32” hole on the back sides of your termination post, and a 1/4” hole on the front side of your termination post. For 3/16” REVO thru-post tensioners, you will need to drill a 13/32” hole on the back sides of your termination post and a 5/16” hole on the front side of your termination post.
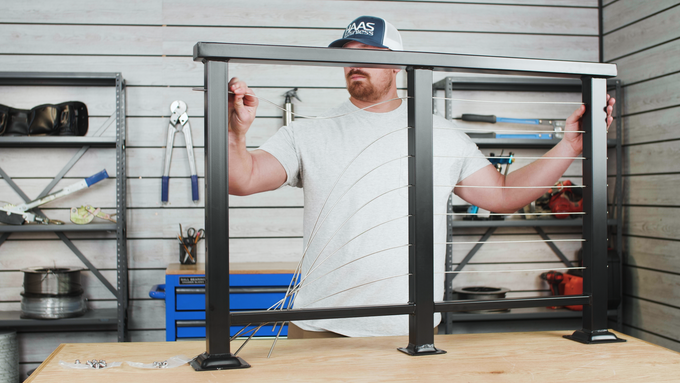
With your cable secured at the opposite end of your run by your end stops and all your cables ran through any intermediate posts, you're ready to install your tensioner. If you haven't already installed your end stops, then be sure read this blog on REVO End Stops in Metal Posts to learn how.
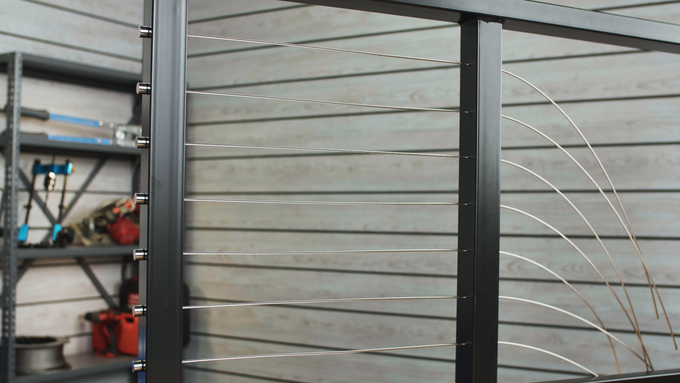
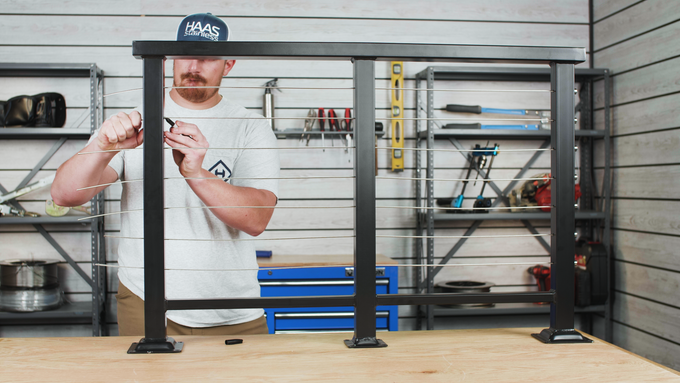
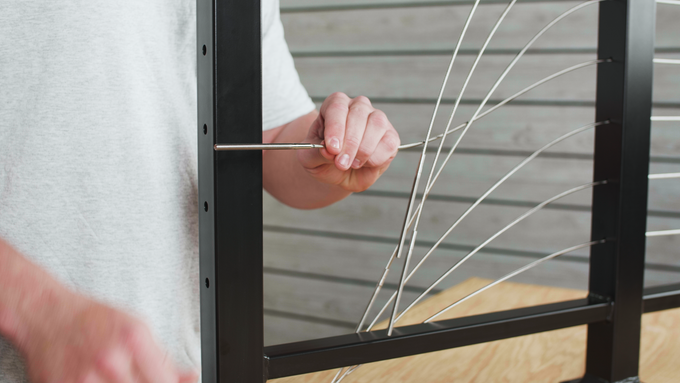
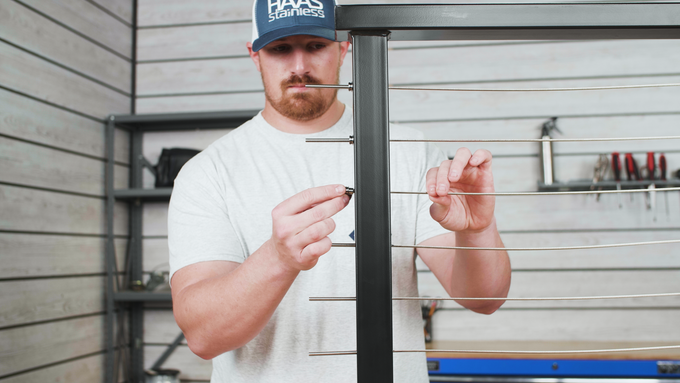
Start off by feeding the end of the cable through your termination post and then pull the cable hand tight so that all the slack is out of the cable.
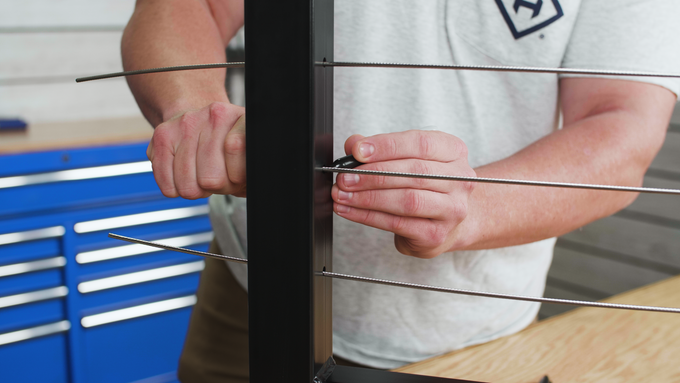
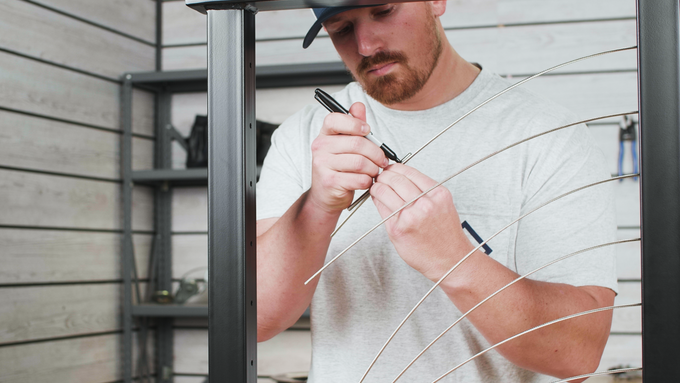
Mark the cable where it's entering the post and then release tension from the cable.
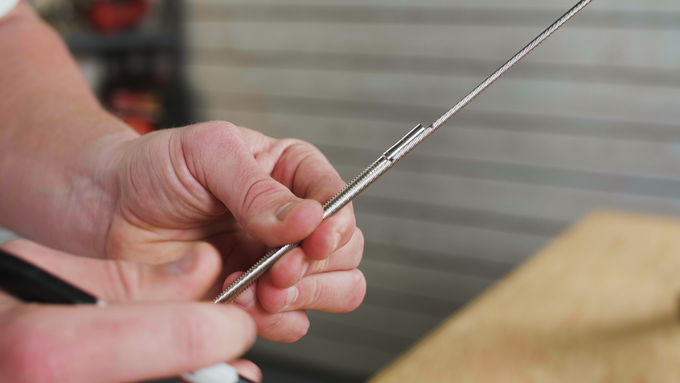
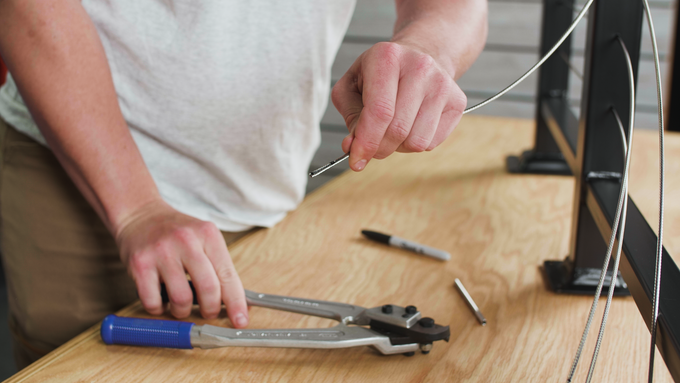
Take a swage stud and use it to measure your cut mark. Align the opening of the stud with the mark that you just made on your cable and then mark the cable at the second indentation line on the stud.
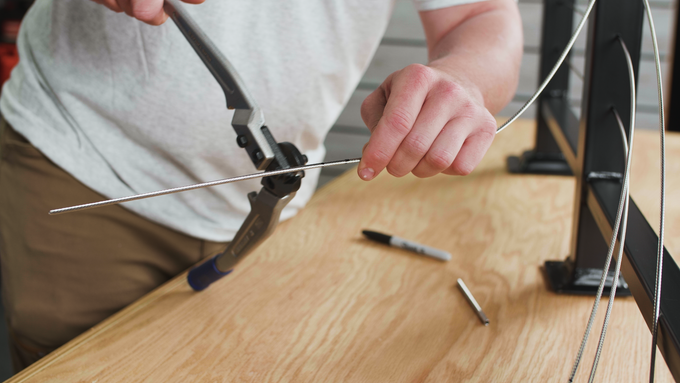
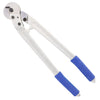
Using a cable cutter, trim the cable at the second mark. Repeat this same measuring and cutting process, so that all the cables for the run have been trimmed to the correct length.
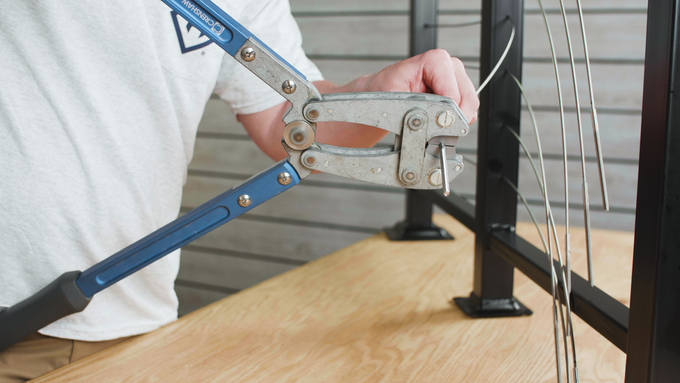
Now that all your cables are cut, grab your Crenshaw swager and then swage your studs onto the cables. If you're not familiar with the swaging process, head to our blog about how to swage HAAS Stainless Cable Railing components.
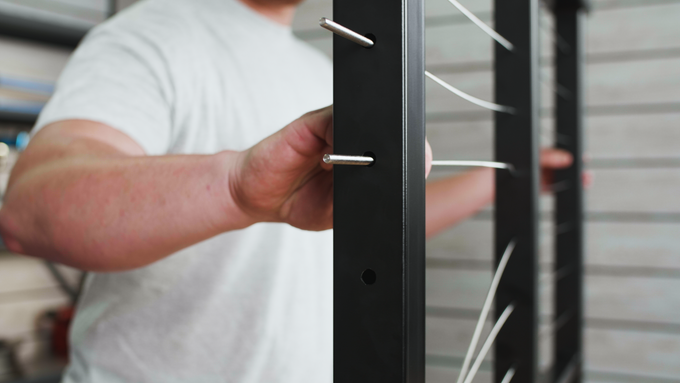
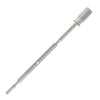
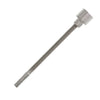
Once all your studs are swaged on, insert the stud through your post.
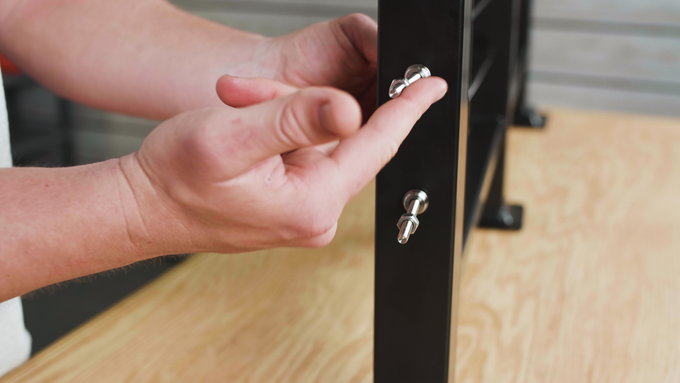
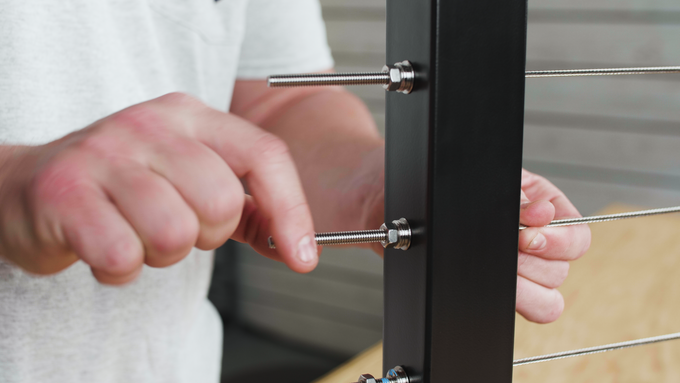
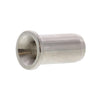
Slide on the centering bushing over the stud and into the hole in the back of the post and then thread on your hex nut.
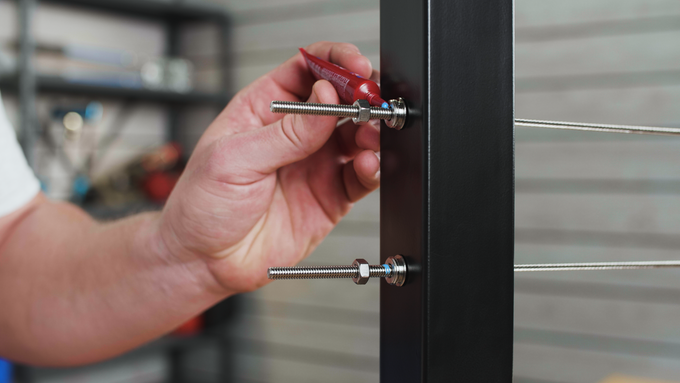
Before tensioning the run, we recommend using blue Loctite to help secure the hex nut in place. Go ahead and apply one or two drops of the Loctite onto the threads of your studs near the bushing, and then hand tighten your hex nut so that it fits snug right up against your bushing. Repeat this process for all the remaining tensioners for the run.
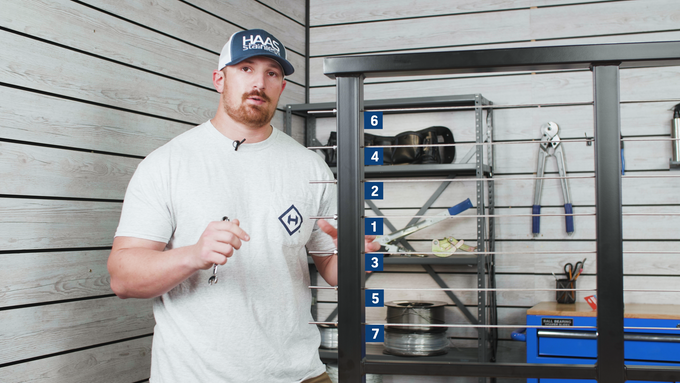
Now that all your thru-post tensioners have been installed and hand tight, the next step in your installation is going to be completing final tensioning for your run. Whenever you complete final tensioning for your cables, it's important to make sure that all your cables in the run are equally tensioned. The way that you're going to do that is by following the tensioning sequence that you see here. Basically, with this sequence, you're going to be starting with your cable in the middle and then moving to the cable directly above it and then below it. And then you're going to repeat that same process, alternating between your top and bottom cables, working your way out until all the cables are equally tensioned.
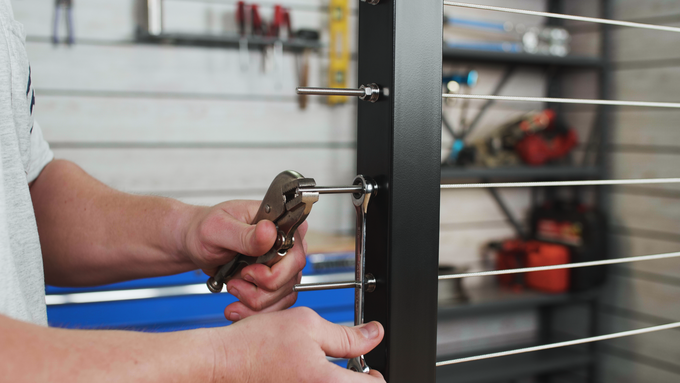
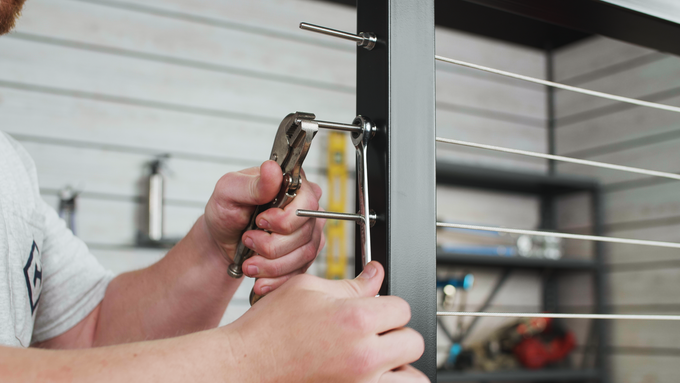
Slide on your ratcheting wrench and then use your vise grips to clamp on to the threads of the stud to prevent the stud and cable from rotating while tensioning. Start off by rotating the wrench from the 12:00 position to the 6:00 position. Count the number of half rotations made on the first stud until the middle cable reaches the desired tension. Using the same number of half rotations as the first cable, continue with the rest of the cables following the same sequence.
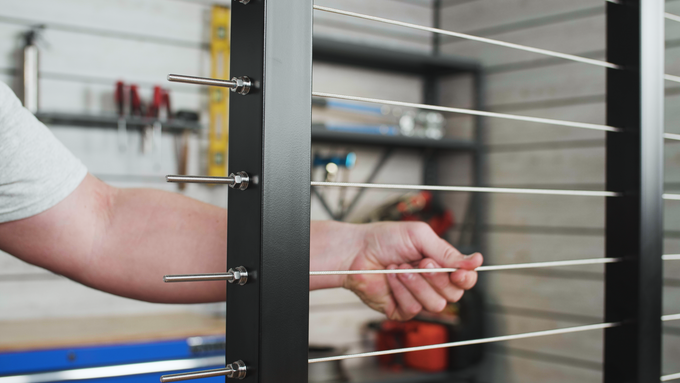
Once you have gone through the entire sequence, use your fingers to test each cable's tension. If one or two or looser than the rest, tune up any cables that may be less tensioned than others.
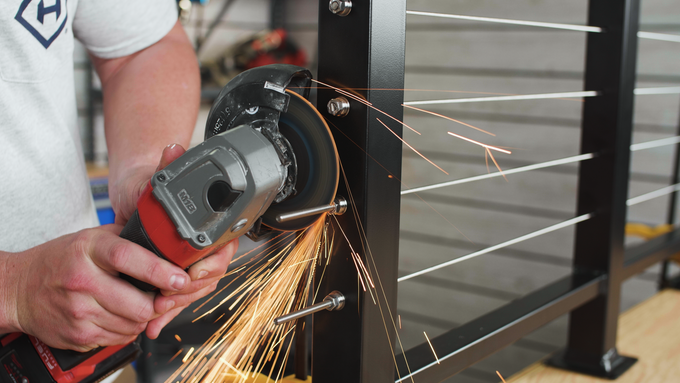
Once you've got all your cables at equal tension and your Loctite has had a chance to set for roughly 20 minutes, throw on a pair of safety glasses, and use an angle grinder to cut off the excess threads of the studs so that the threads are flush with the shoulder of the hex nut.
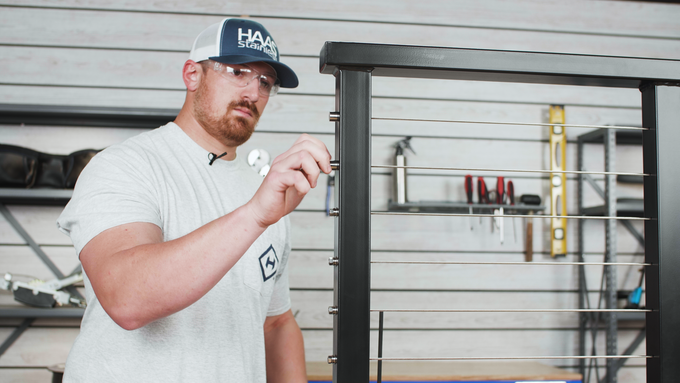
Lastly, grab your end caps, and thread those on to each of your bushings.
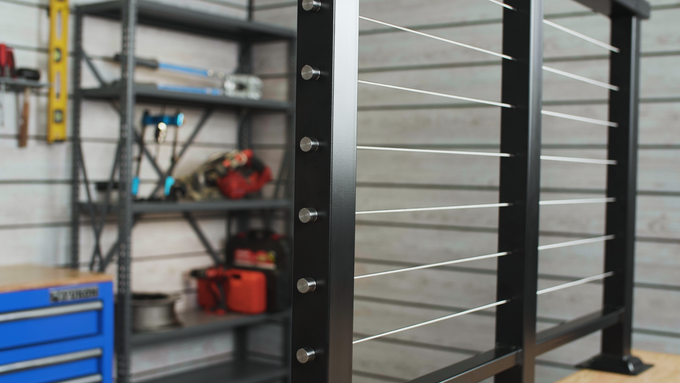
Once your caps are threaded on to the end of the bushings, the run is complete.

